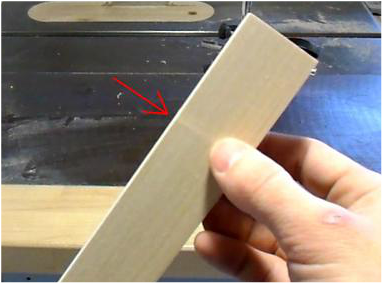
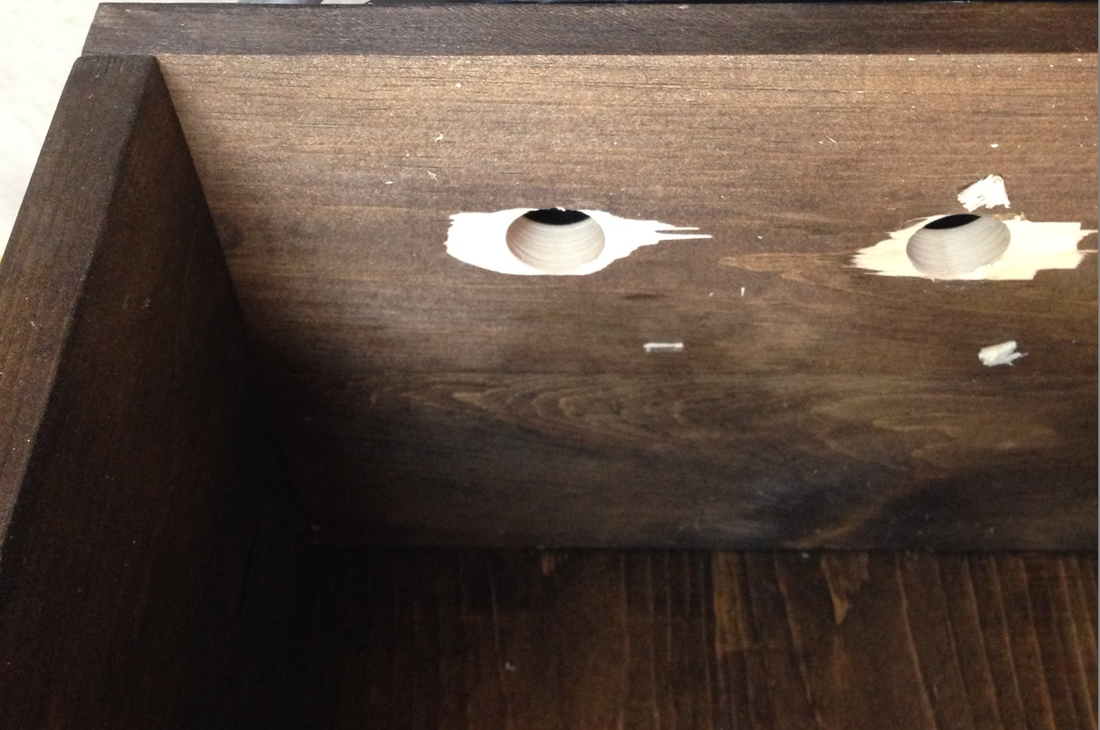
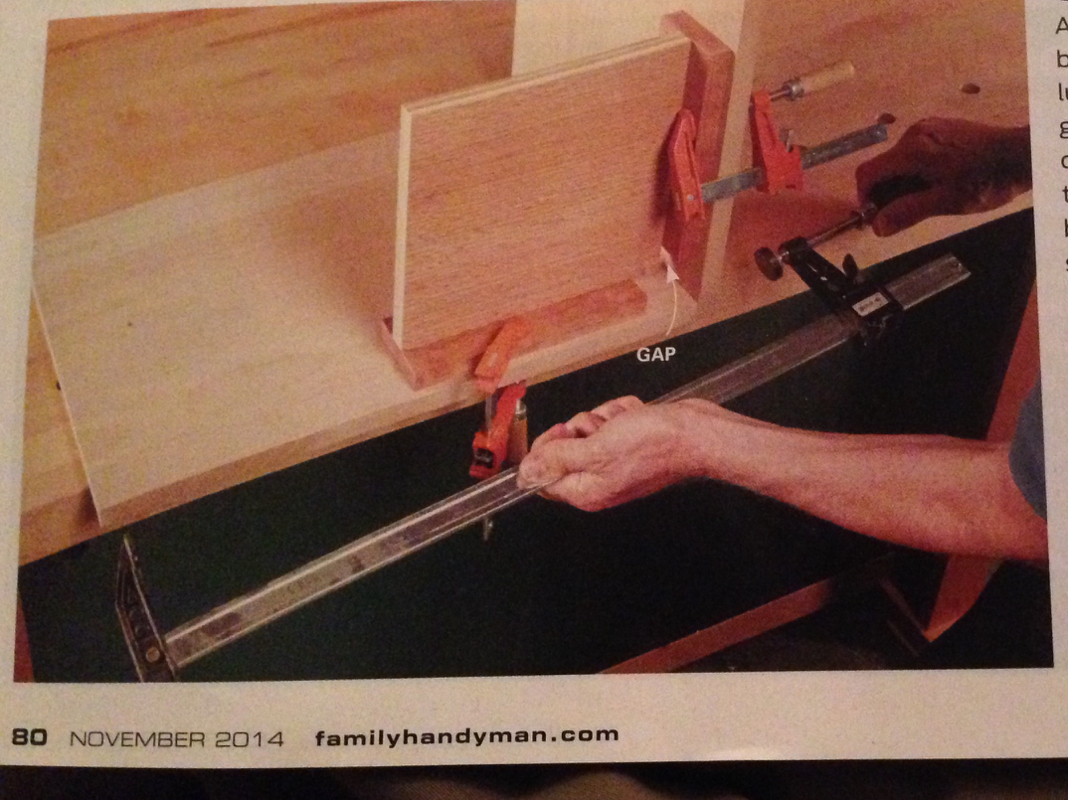
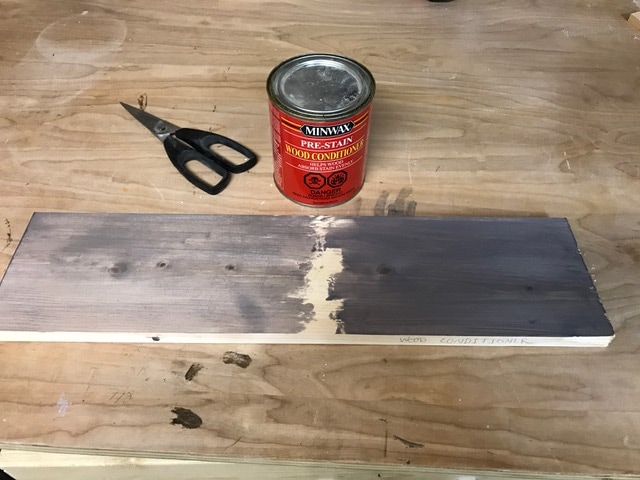
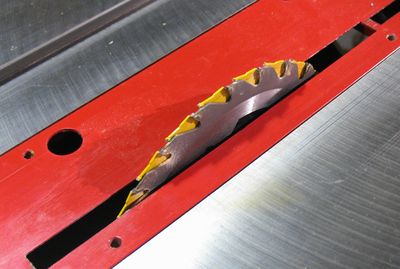
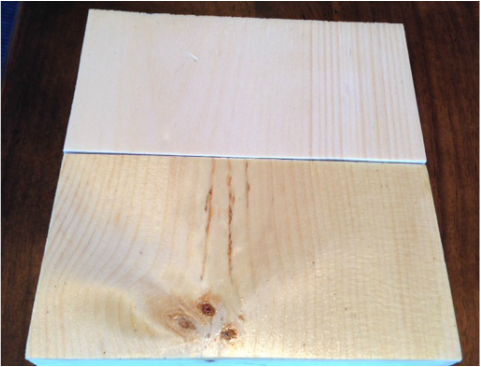
Planer snipe is usually caused by the cutter head assembly moving too much or an uneven in/outfeed tables. Picture below show an example of planer snipe. 
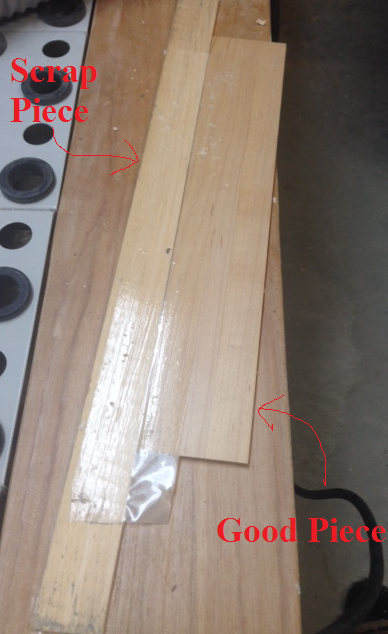
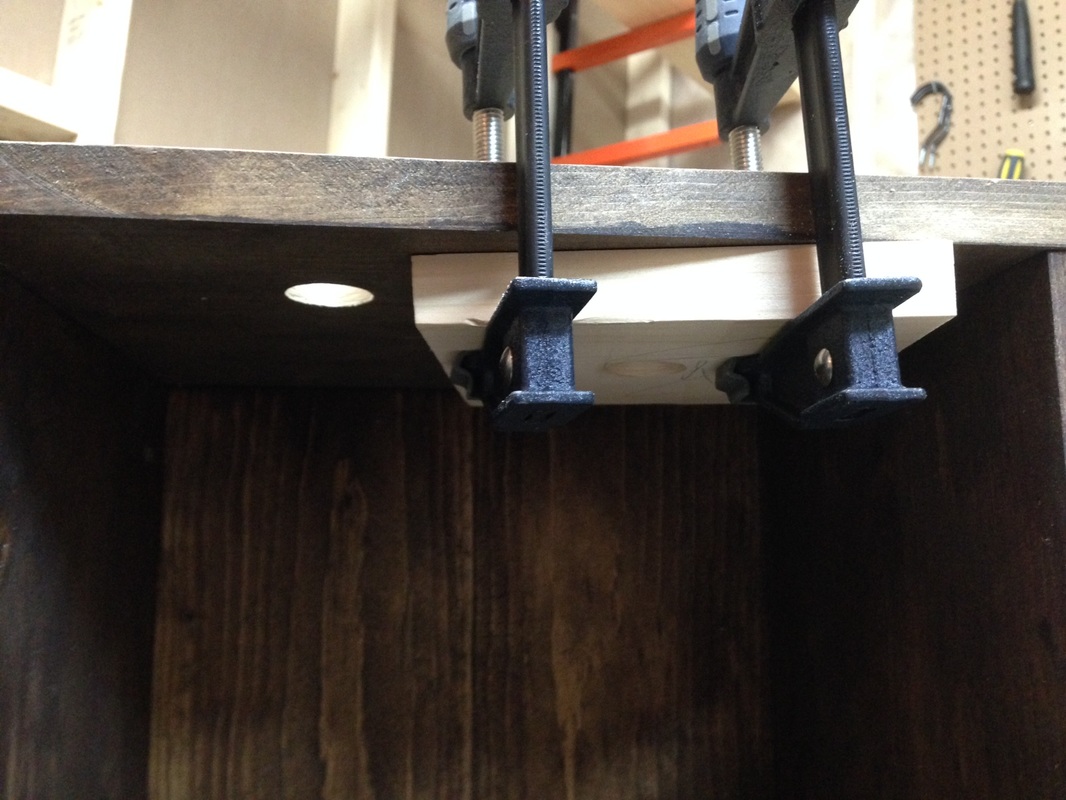
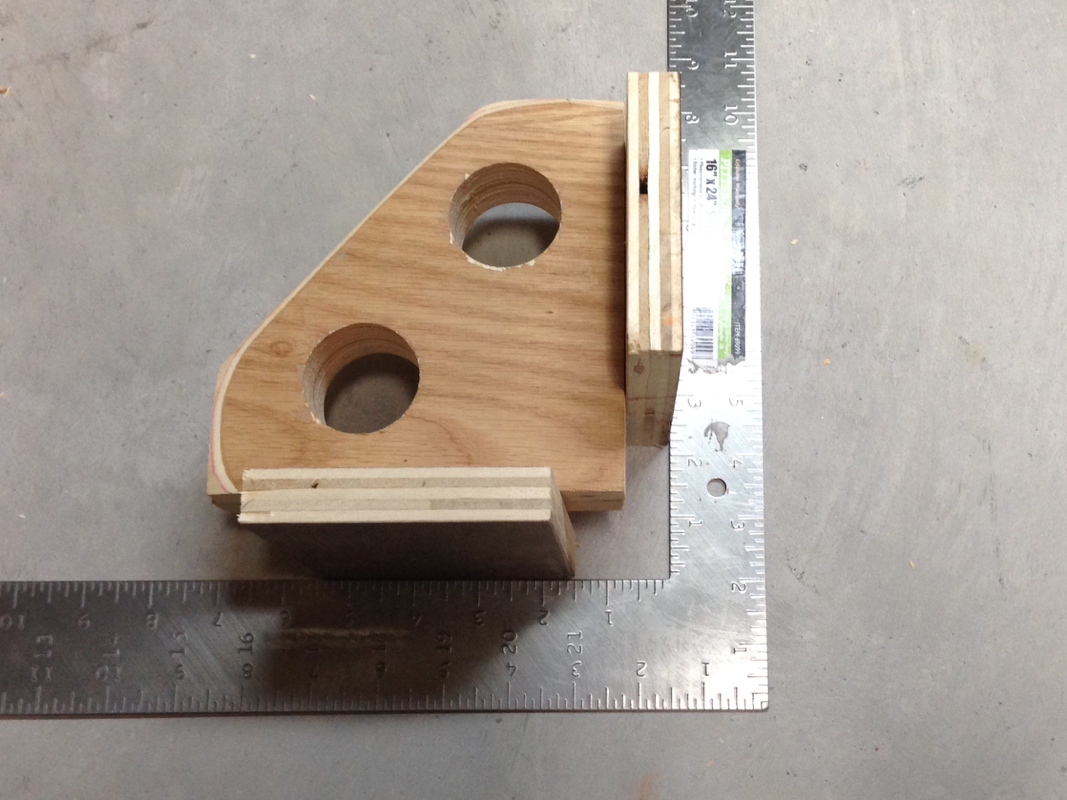
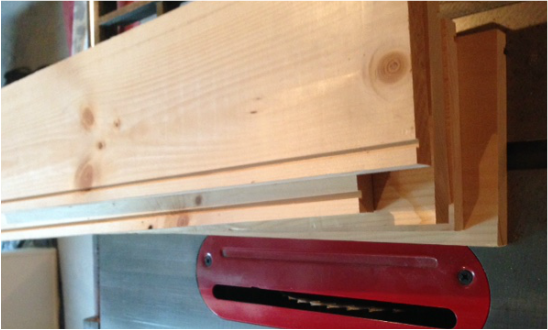
One easy way to avoid snipe is to marry to boards together and then run it trough the planer. You must ensure that your scrap piece is longer than your good piece at both ends so that the snipe doesn't occur on your good piece. I simply taped the bottom of two pieces together and this did the trick. 
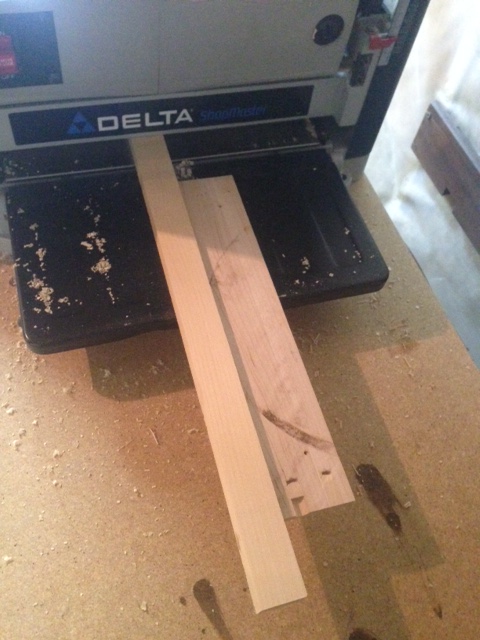
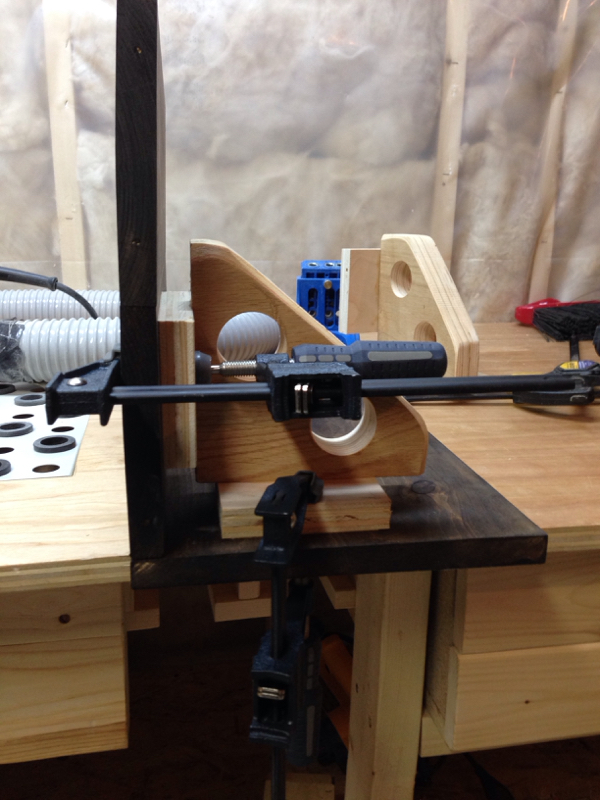
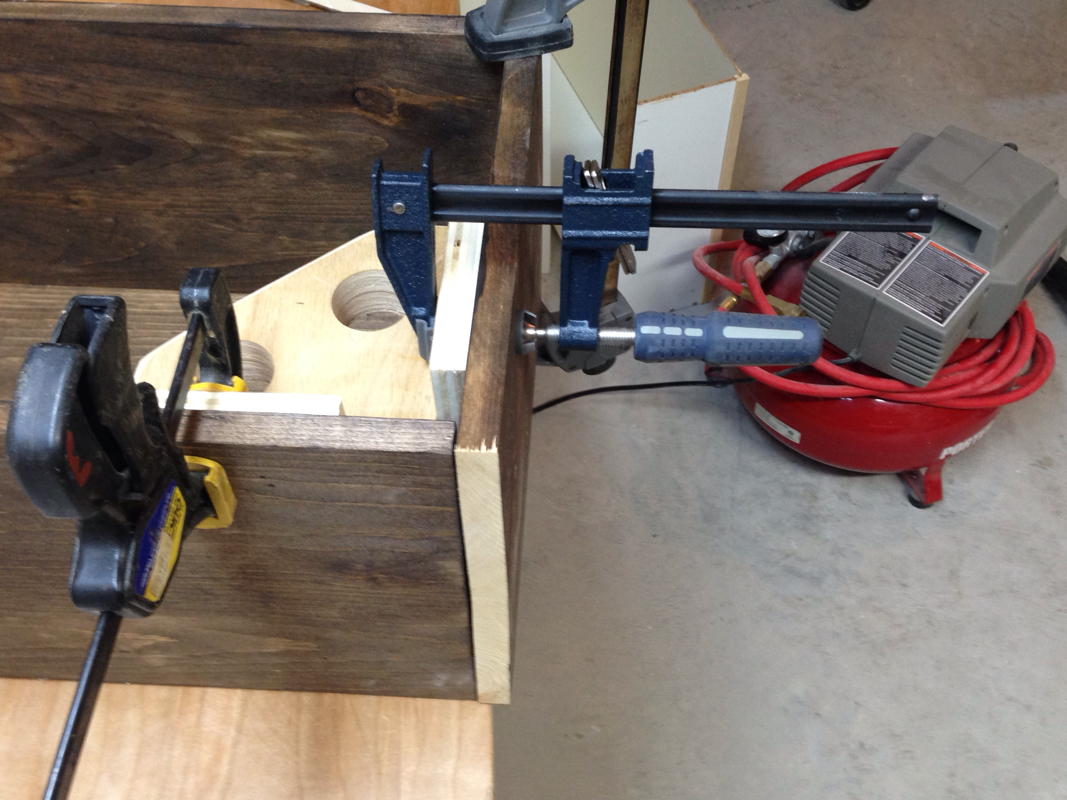
Ran the boards though my planer until desire thickness. 
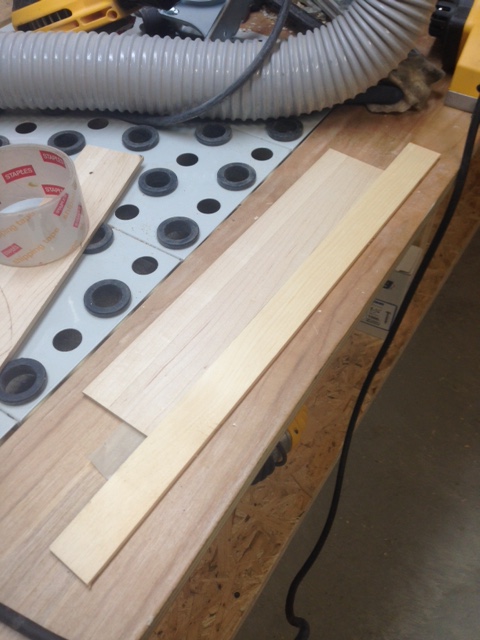
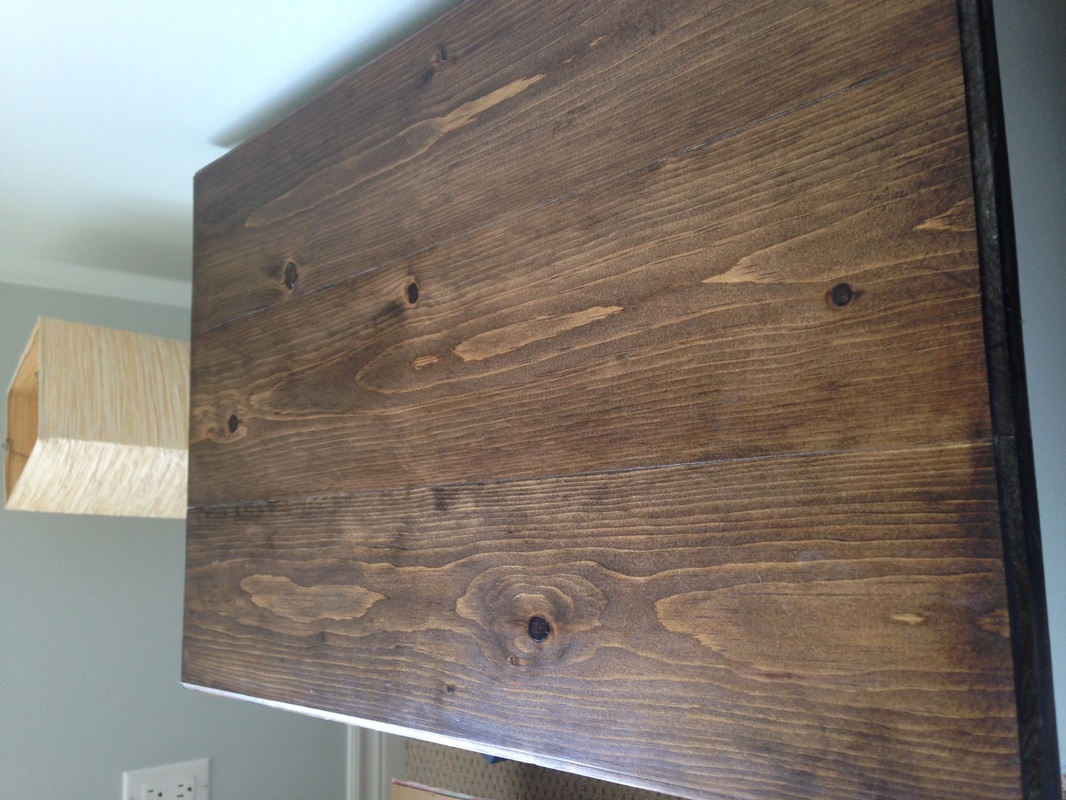
This simple trick worked. I planed the maple piece to my desired and avoided snipe. There are other methods online but this was so simple and worked well.
0 Comments
Even when using forstner bits, I have experienced tear-out when drilling holes. The tear out is usually on the back side of the piece of wood. I've tried changing speed of my drill but that didn't help much. I then decided to clamp a piece of wood behind the piece I'm working on and that seams to work well for me. See pictures below... The hole looks nice and clean, no tear out !
I got this idea from the family handy man magazine. This is a very simple jig for ensuring you have 90 degree corners when building cabinets, boxes etc... You don't have to make the whole in the centre. Below is a snapshot from the family handy man magazine and their version was quite simple. The main thing to ensure is that the jig is square and you have the ability to secure with clamps. Here is another action shot :)
I work with a lot of pine, primarily because it's light and inexpensive. I've found that some stains don't take very well or come out blotchy because the wood is so soft. A number of soft woods aren't conducive to stained finishes such as pine, fir, birch etc.. Pre-stain wood conditioner. These conditioners are designed to penetrate into the wood and allow the stain to absorb more evenly and prevent streaks and blotches. I went to home depot and purchased a small can of Minwax pre-stain and decided to test this out on my latest project. The photo the left I didn't used the conditioner and the one on the right had one coast of minwax pre stain conditioner. I think it made a slight difference. There appears to be a little bit more blotchy parts on the one of the left, near the end grain edge. The end grain on both tops were very dark, practically black. The conditioner didn't help the end grain much, perhaps I'll try putting a few coats of wood conditioner on the ends next time. UPDATE: I have difficulty with lighter stains such as grey. I this example below, you will see that the sample grey stain on the right (wood conditioner) is move even and took better on the piece of pine.
Also for end grain, I will often leave the wood conditioner soak in longer - which I've found helps on some of my projects. I finally completed the dust collector system in my home shop. I recently acquired the infamous 2 HP Central Machinery Dust Collector from Harbour Freight. Click here for assembly tips. I finished running 4" PVC to my tools and left some room for expansion. I must admit that I'm a little disappointed with the effectiveness of the dust collector. I think that perhaps that I had too high of expectations for my new Dust Collector purchase. I opted to purchase a shop vac and thought I'd go straight to a dust collector system for my small home shop. I just thought I'd have better suction from the down draft which only 13' away from the DC unit. I followed a plan for the downdraft and even bought the proper panels, there just isn't much suction. As for the mitre saw, a lot of the dust still just blows everywhere but as I said, I believe my expectations where just too high and this is just the nature of woodworking. I do like the fact that I don't have to wheel and reconnect a shop vac constantly. Tools should be stationary so it will be easier to sweep up dust. I did quite a bit of reading online prior to setting up my small system. - Avoided 90 degree elbows and used 45 degree turns - Used as little flexible hose as possible - For my long run around the workshop, I made sure I had a 2 ft straight pipe exiting the dust collector intake. I have noticed some small dust exiting the seams of the DC motor unit. I will probably tape those seams. I'm also contemplating upgrading the 5 micron bag to a 1 micron. I initially was going to only use one blast gate for each down pipe. However, after setting up and quickly testing the down draft suction. I added another blast gate so I can dedicate all the suction to either the 2.5" hose for my palm sanders or both if desired. I did noticed that the down draft suction was significantly better when I had the table directly connected to DC unit. When I moved the table 13 feet away, it appears that the suction has dropped significantly. But as stated, perhaps my expectation were to high. Suction appears to be good for the 2.5" hose which I'll use for sanding ( I haven't really tested yet). For the chop saw, I decided to try using two hoses. One for the 1.5" outlet on the rear of the mitre saw and I created another suction outlet below the saw. See below a photo of the table I created. I have to blast gates for this downpipe as well so I have the option of using 1 or both simultaneously. Trial and error.... The picture below is the last leg that is directly across from the down draft table and mitre saw. The appears to be decent suction for this single downpipe. I have extra slack on the flexible hose so I can move the jointer away from wall if needed - I realize that would be more effective to reduce the amount of flexible hose. Comments? Feedback? Tips?
People (including myself) often get the terminology mixed up. This info is straight from Wikipedia.
Wood warping is a deviation from flatness as a result of stresses and shrinkage from the uneven drying of lumber. The types of wood warping include: bow : a warp along the length of the face of the wood crook: a warp along the length of the edge of the wood kink: a localized crook, often due to a knot cup: a warp across the width of the face, in which the edges are higher or lower than the center of the wood twist: a distortion in which the two ends do not lie on the same plane Wikipedia definition: is a slot or trench cut into the surface of a piece of machinable material, usually wood. The above picture is some dadoes that I created for some drawers. I don't have a proper dado blade, so I will just run multiple passes on my table saw until I reach the desired thickness and depth. Dado sets can be quite expensive so I haven't purchased one yet. I've read some tricks, where people will put multiple regular saw blades on their table saw side by side to remove more material. I may try this if I have a project that require a large dado. Below is an example and here is some info from www.woodgears.ca: I gathered the above pros and cons from a few articles. I personally prefer the water based polyurethane because it dries fast and the natural look. However, if I were applying it on a floor I would probably go the oil route since it’s more durable. I decided to do a test on some scrap pine and what I stated above turned out to be accurate. I applied 3 coats of both kinds of polyurethane. The top scrap piece is the water based, as you can see it's crystal clear. I doesn't look like there is 3 coats of polyurethane. The bottom piece is the oil based poly, as you can see it now has a yellow tint. I must say that the oil based coat is a lot harder. I would definitely be better for preventing scratches. Below is more details from the familyhandyman.com, my only disagreement with this article would be the cost. Water-based polyurethanes provide a clear finish and have low odor. You can recoat them in two hours and clean your tools with water. If you start early enough in the day, you can apply the recommended four coats and sleep in the room that night.
Oil-based polyurethanes leave an amber glow and require fewer coats. But the five-hour wait between coats and 12-hour wait after the last coat will put a bedroom out of commission for a few days—and you'll have to put up with a strong odor. Both water based and oil based poly offer good protection; the biggest difference is in appearance. If you love the natural look of maple, apply a water-based (waterborne) polyurethane. They appear milky in the can, but go on clear and remain clear. They'll slightly accent the character of your wood without giving it the amber tint of an oil-based poly. (However, some woods, like the oak shown, cry out for that amber tint.) Water-based finishes dry fast—most within two hours—so you can apply several coats in a day and use the room that night. They have minimal odor and clean up with water too. But water-based polys have their tradeoffs. They cost twice as much as oil-based polys. They won't give wood the rich glow that oil-based polys impart; some even consider them cold looking. When I applied waterborne poly recently, I found that it went on so clear I had to use a bottle cap to mark each 8-in. wide swath of finish as I went. Most water-based polys contain only 30 to 35 percent solids, compared with the 45 to 50 percent solids in oil-based products. Since these solids create the protective finish, you need to apply four coats, as opposed to two or three. And you may need to apply additional coats every two years or so. http://www.familyhandyman.com/floor/water-based-vs-oil-based-polyurethane-floor-finish/view-all I just received this dust collector from Harbor Freight, I'm looking forward to using it and hoping it will greatly reduce the dust in my home workshop. It's a 2 HP Central Machinery Dust collector Model 97869. Tip - You can usually find a 20% off online coupon code for Harbor Freight which you can use to purchase this unit. This unit had great reviews, however many people complained about assembly issues. The instructions are from China and are terrible. Bolts are too big, too short, description doesn't match pictures etc... I had to make a few runs to home depot for bolts. Casters: The casters went on first and there were no issues. However, manual states to insert 'Hex Screw' - they are actually Phillips head bolts. All the holes above on the black 'base plate' are pre threaded so you won't need any nuts. The second step was to attach two collector supports to the base plate (this step went fine) Then you had to attach green 'Motor Base' to the black base plate with 4 hex bolts (the manual says 6 bolts and nuts?). Once again you don't need nuts when attaching items to base place since it's threaded. The manual also states that the green motor base below is already attached to the motor but this was incorrect with my unit. Attaching motor to above green motor base: This was a pain because the six Hex Bolt M8-1.25 x 16mm were too short. 16mm = .63 inch which was slightly too short, I went to home depot and bought some longer M8 bolts that were 1" 1/4....(1" would of been fine but I wanted to be safe). In the following picture, I flipped the bolt around to show you how the original bolt was slightly too short. Once I bought the six 1"1/4 bolts, attaching the motor went fine. Attaching hose outlet to fan housing: Now this part was also annoying because I had to run to Home depot because the six Hex Bolt M8-1.25 x 16mm did NOT fit - they were slightly too big (see photo below). My quick and dirty fix was to drill 6 new holes with a 5/16 bit. I bought six 5/16 x 3/4 bolts and nuts After this step, it was smooth sailing. Extra pieces required: - six M8 bolts that are 1" 1/4 in length for motor (you will need bolts but you should have some with kit) - six 5/16 x 3/4 bolts and nuts (you will have to drill 6 holes with a 5/16 bit to make holes slightly bigger) My next task will be to run piping to my tools.
I found the above picture when surfing on the net. I'm usually to impatient to do these fancy joints but have done a few of them on occasion. |