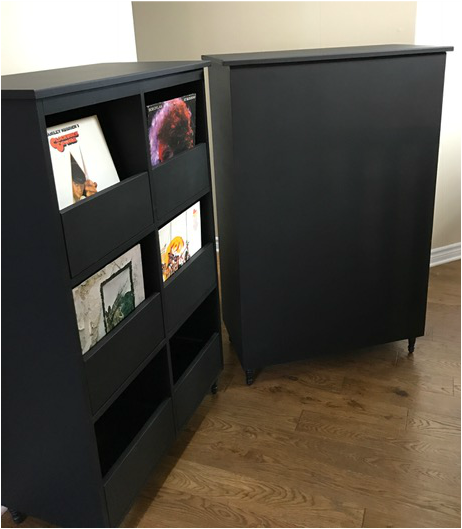
I wanted to build a coffee table with lots of storage for kids toys. I started browsing the information super highway and came across Ana White's "20 Sec Tidy Up Coffee Table" and this was exactly what I was looking for. If you want her detailed plans with dimensions and a cut list - visit her website.
Wood type: Pine lumber
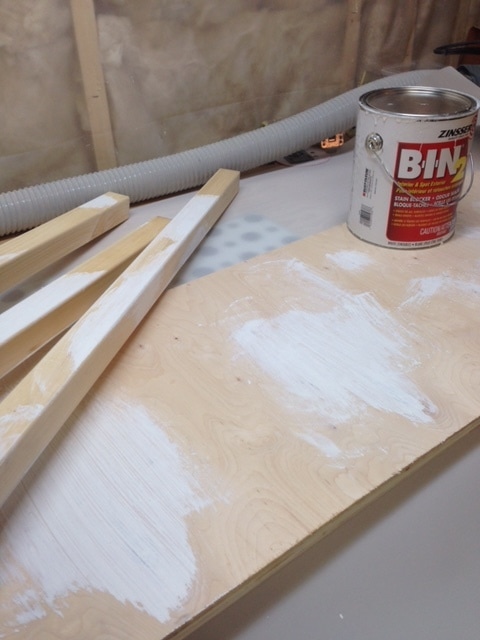
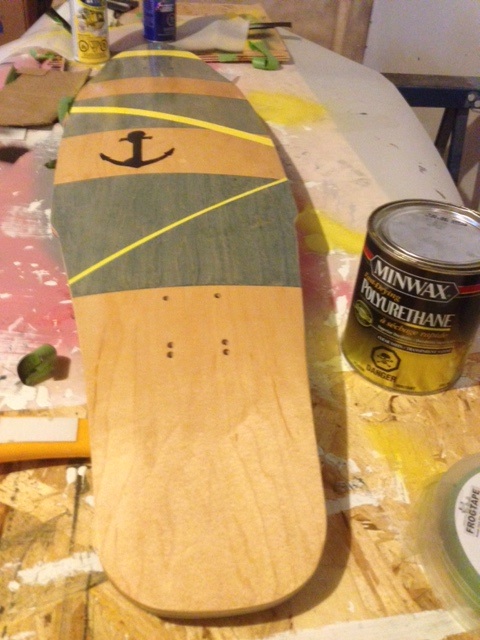
Finish: Polyurethane, Minwax Charcoal Gray stain , wood stain pre-conditioner and white latex paint
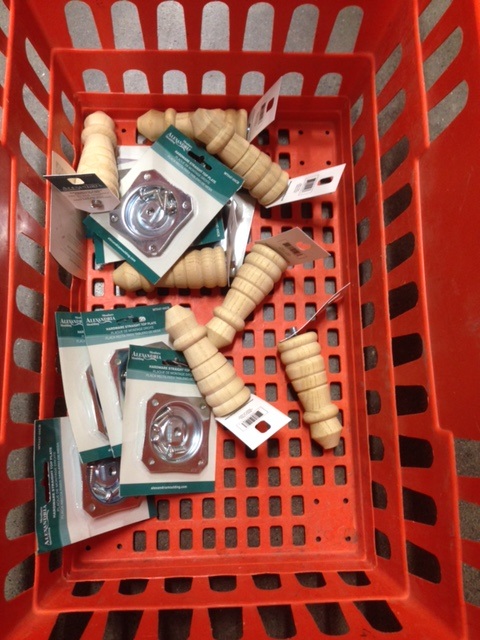
Hardware: wheels
Finish: Polyurethane, Minwax Charcoal Gray stain , wood stain pre-conditioner and white latex paint
Hardware: wheels
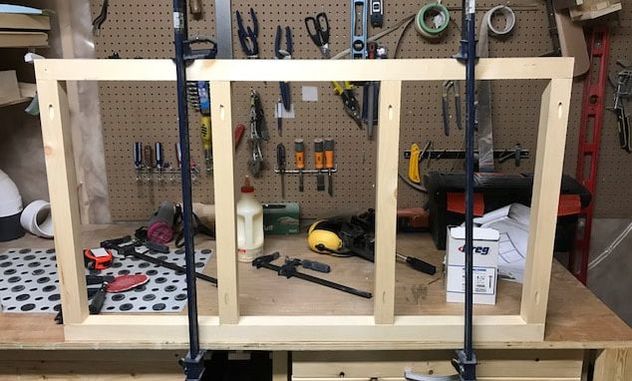
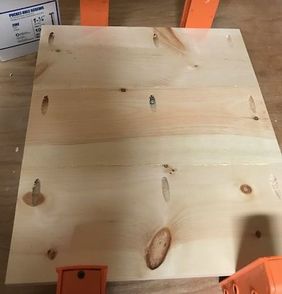
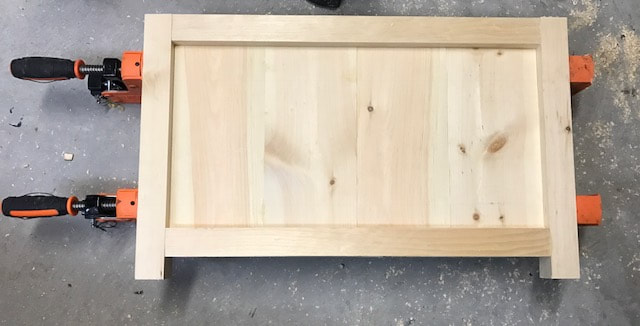
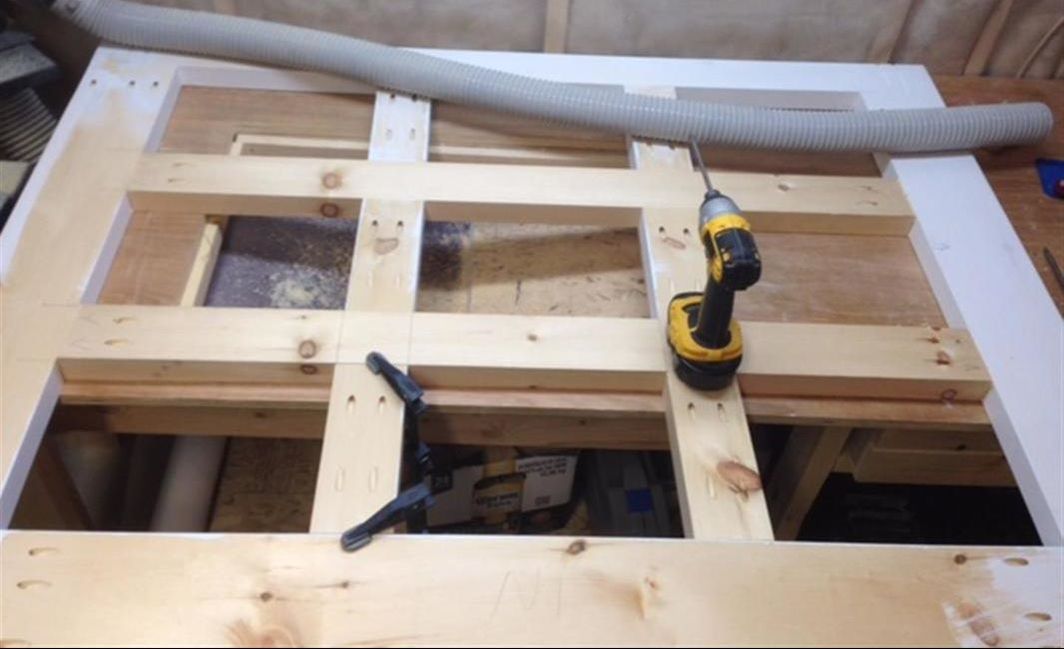
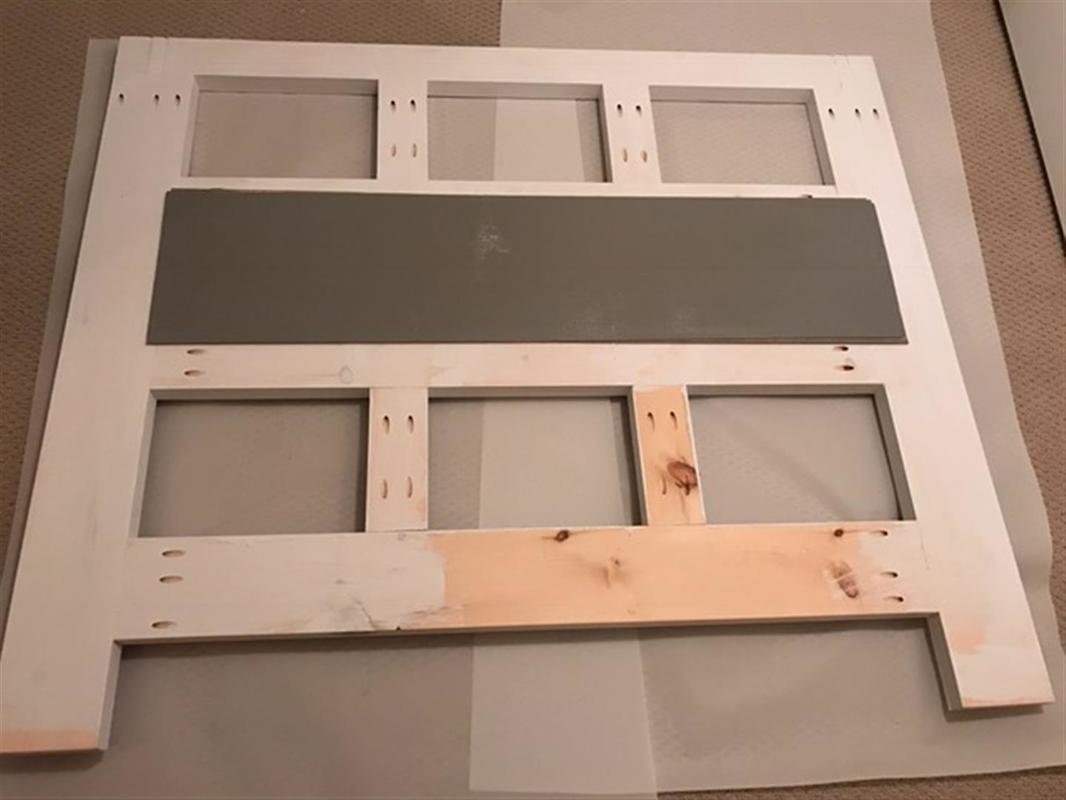
I used a pocket hole jig to build the table top frame, it's not necessary but it quick and easy if you have the tool.

|
|
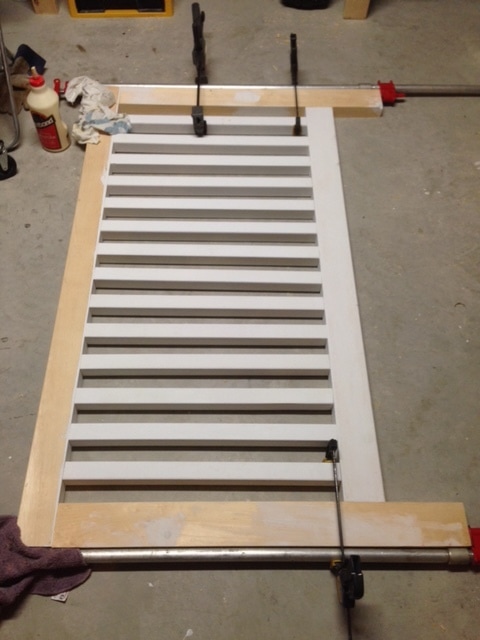
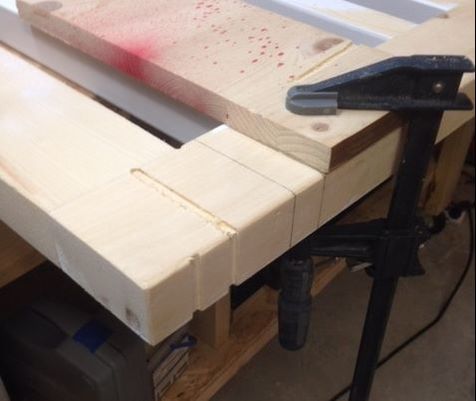
I used glue and pocket holes for the joinery of the table top.
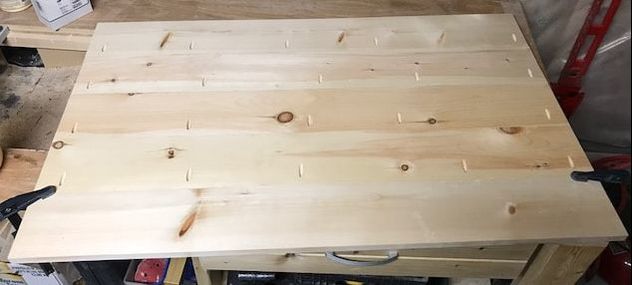
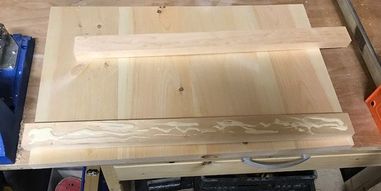
I then attached the breadboard ends with pocket hole screws.

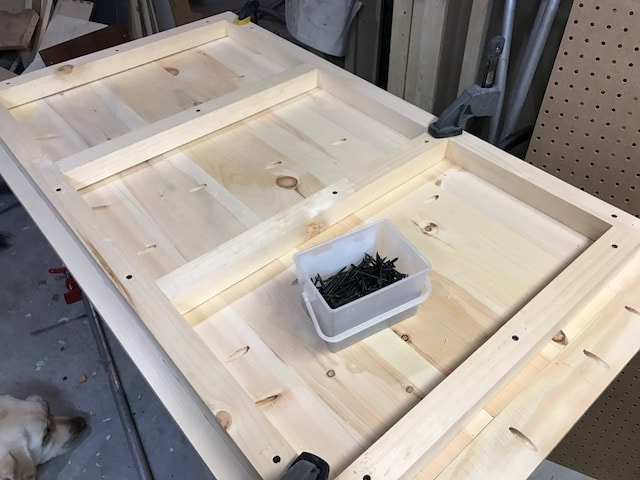
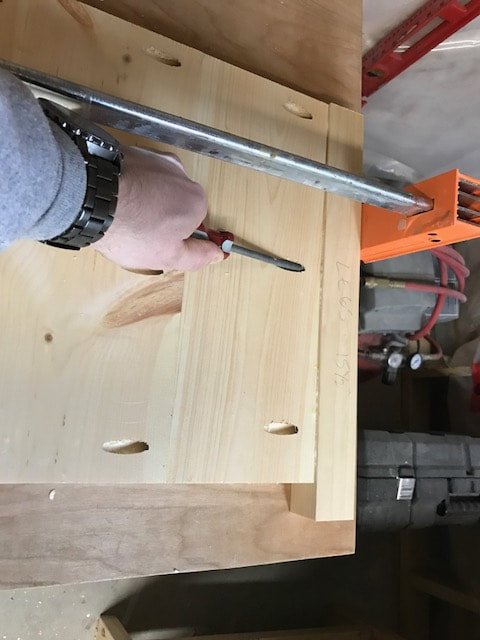
I then screwed the table top to the frame with 2" wood screws.
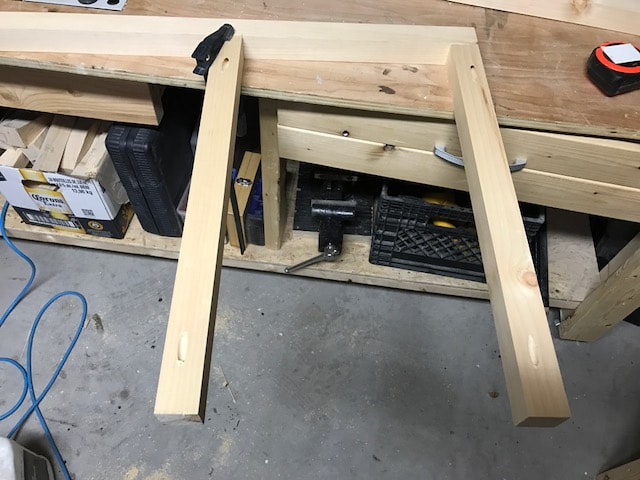
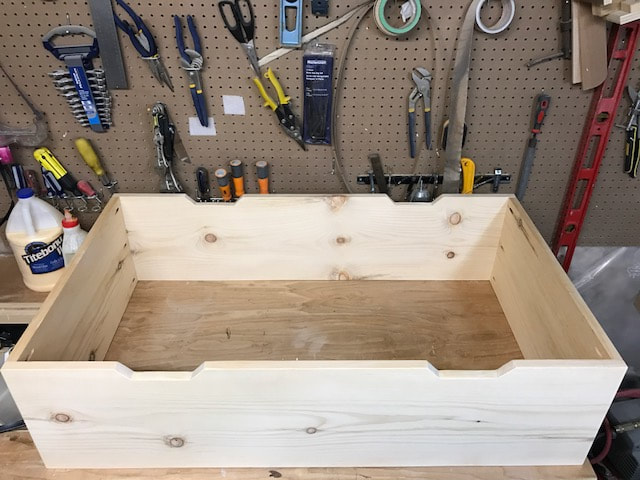
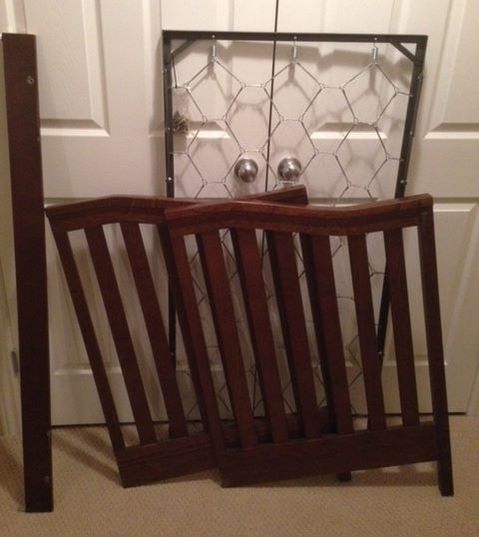
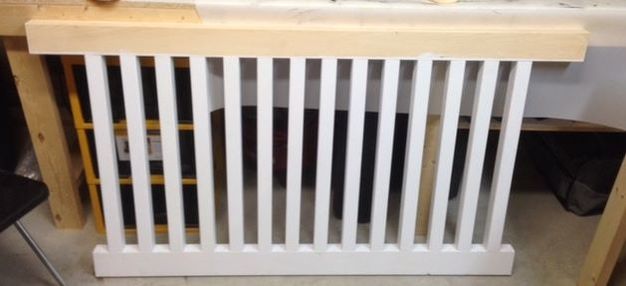
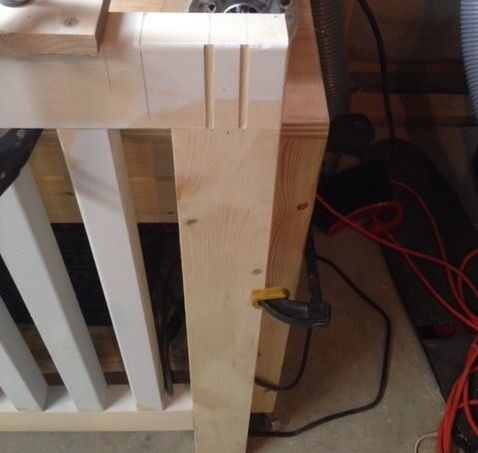
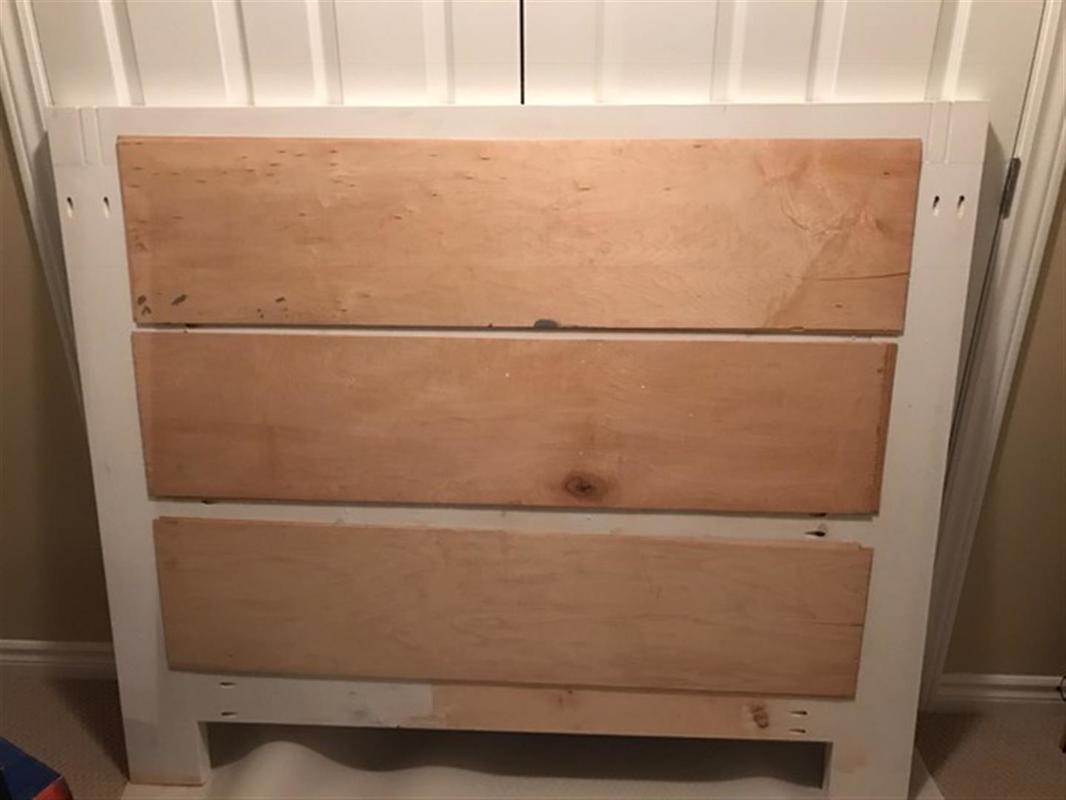
I then started to work on the two table sides with legs. Once again I used pocket holes for the joinery and I also used glue as well to make it more secure.
|
|
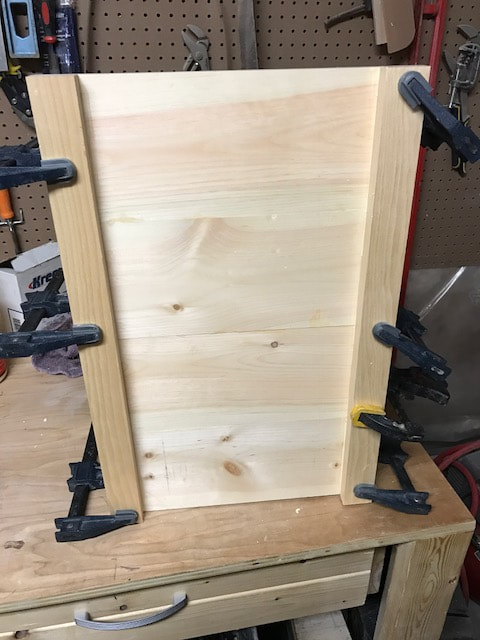
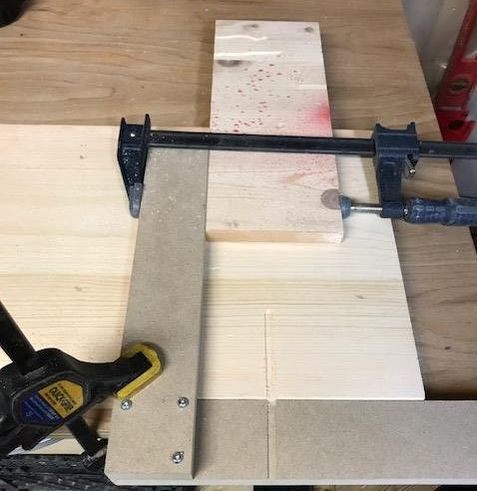
The next step was to attach 2x2 legs to the sides. I used glue and pocket screws for this step. I then clamped the ends.
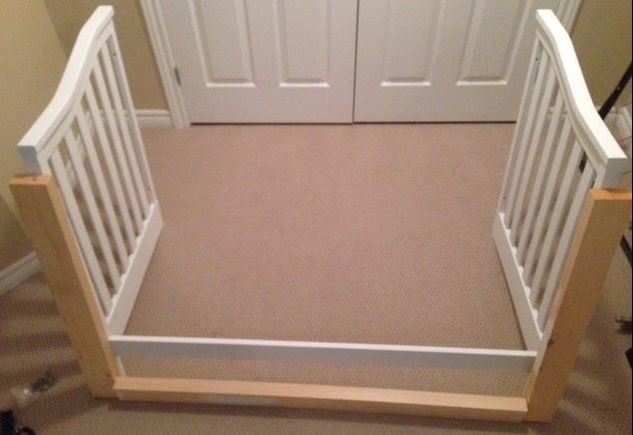
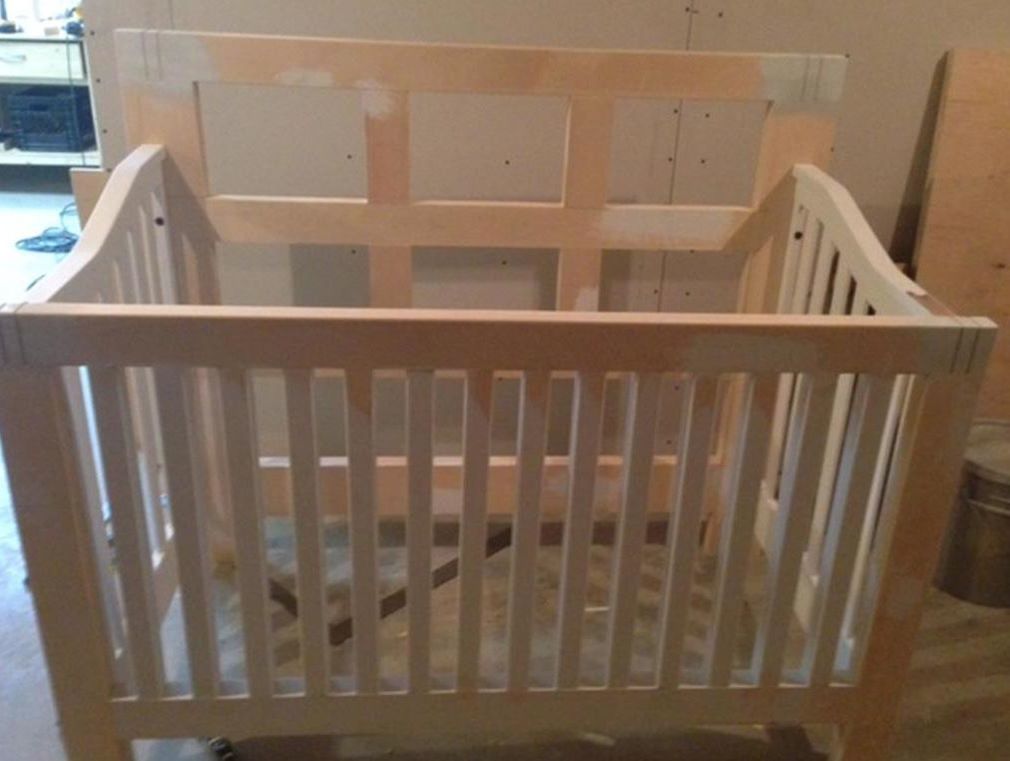
Once the sides were complete, I attached them to table top structure.

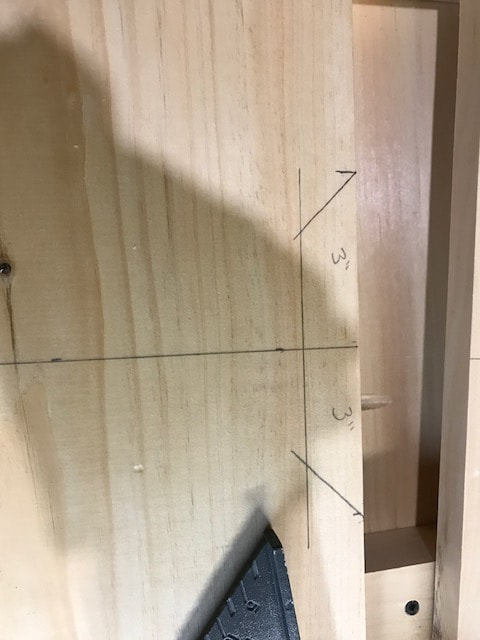
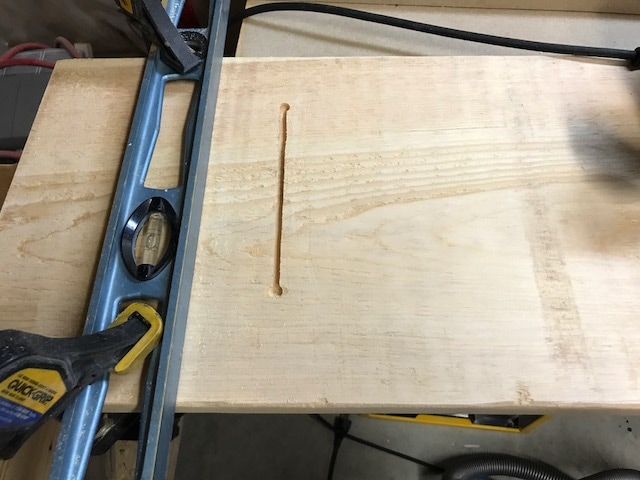
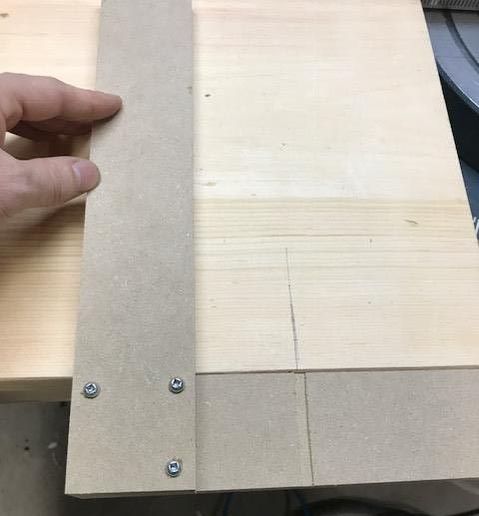
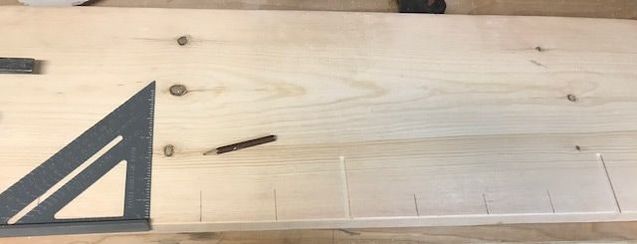
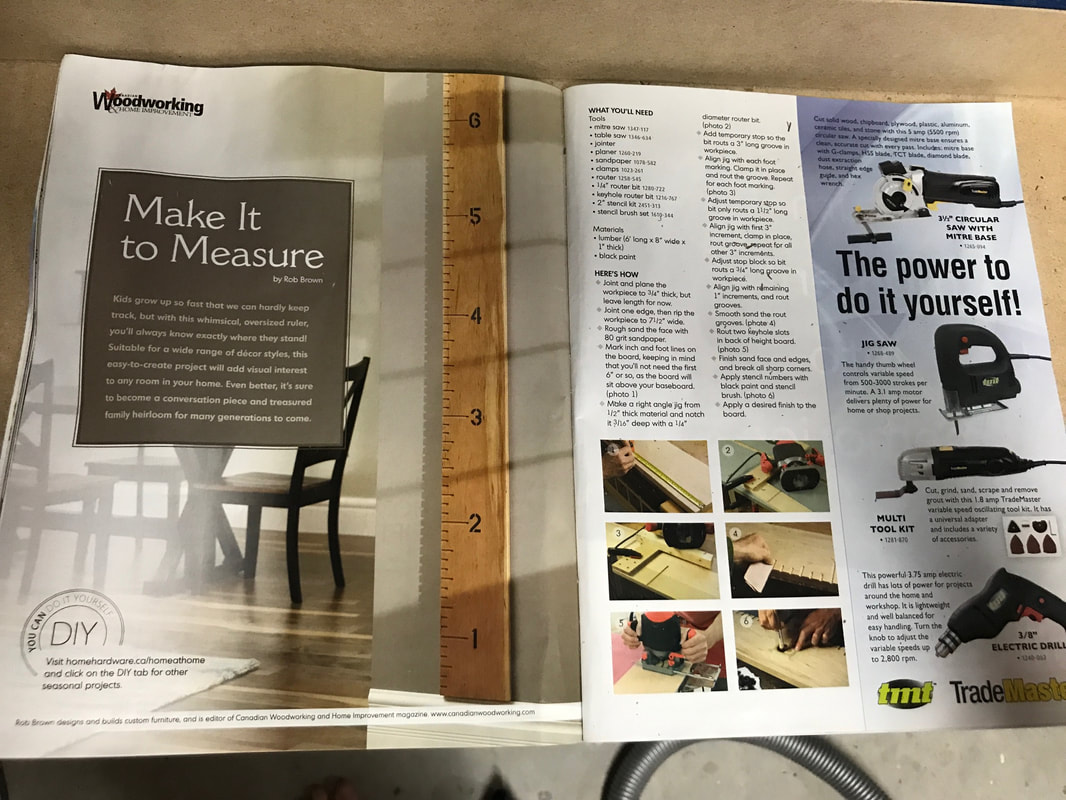
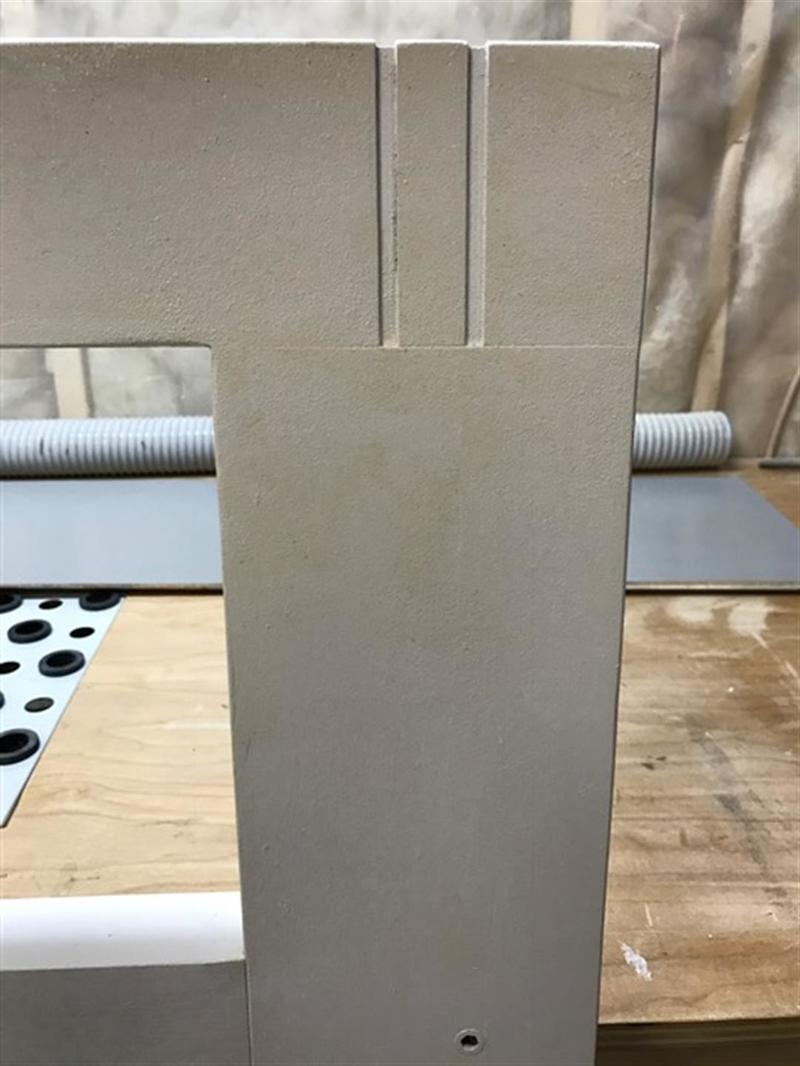
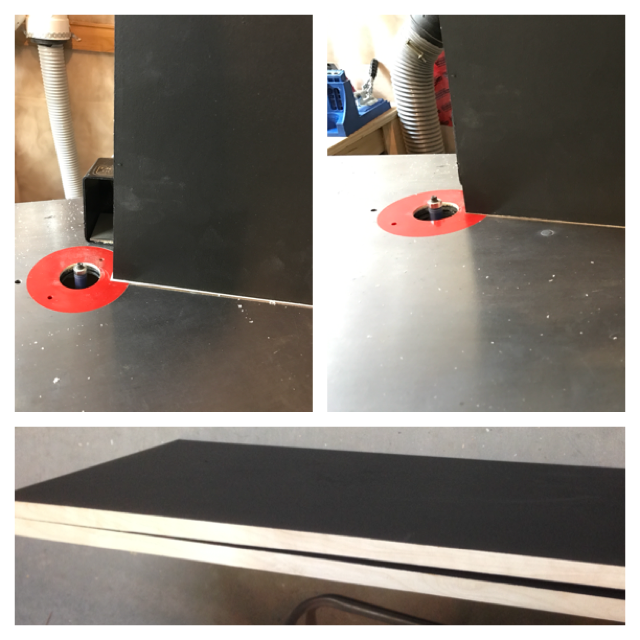
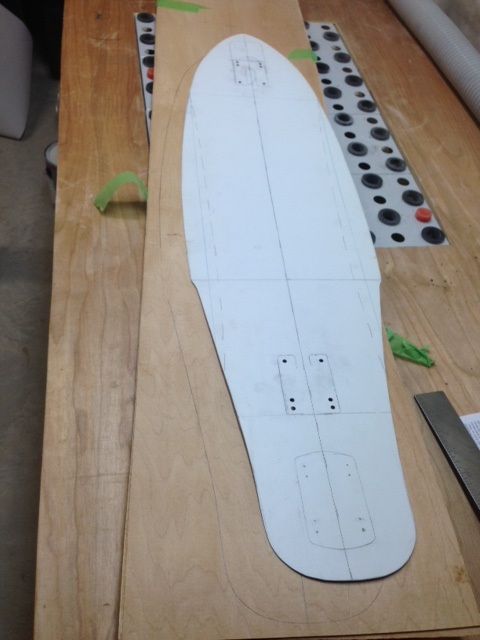
The last piece to build was the trundle. To make the handle, I used a square and made some 45 degree angles and then cut it out with a jig saw
|
|
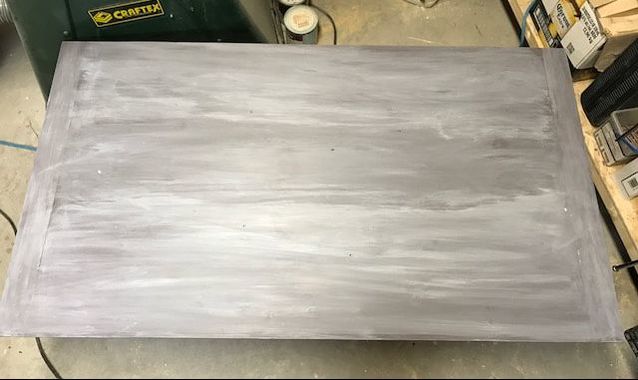
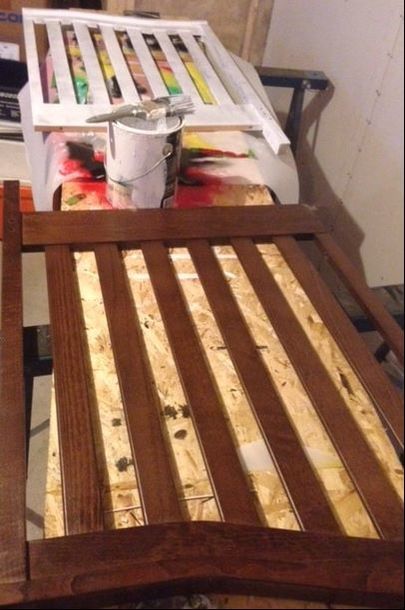
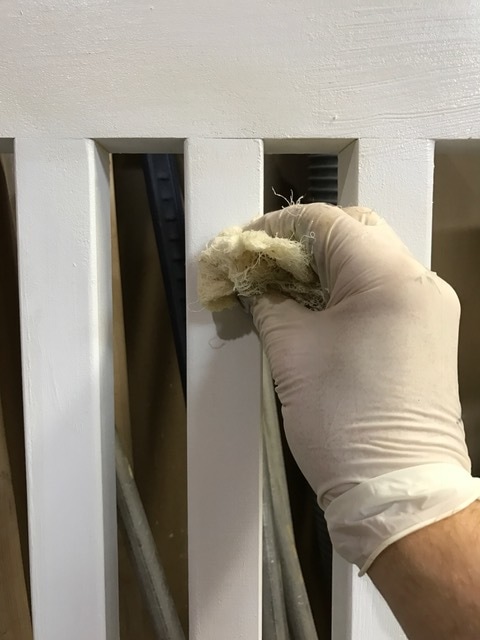
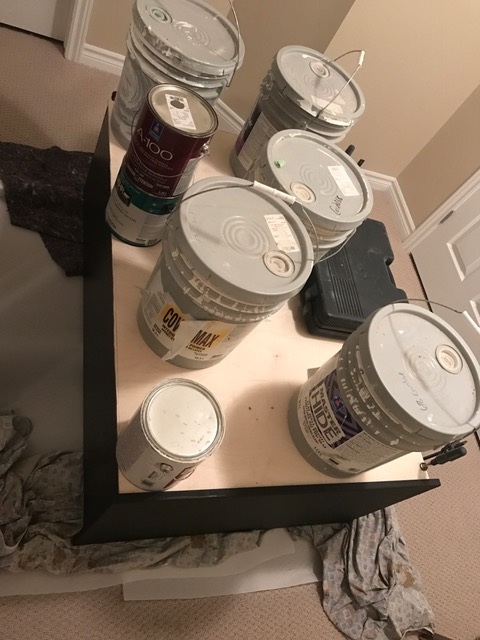
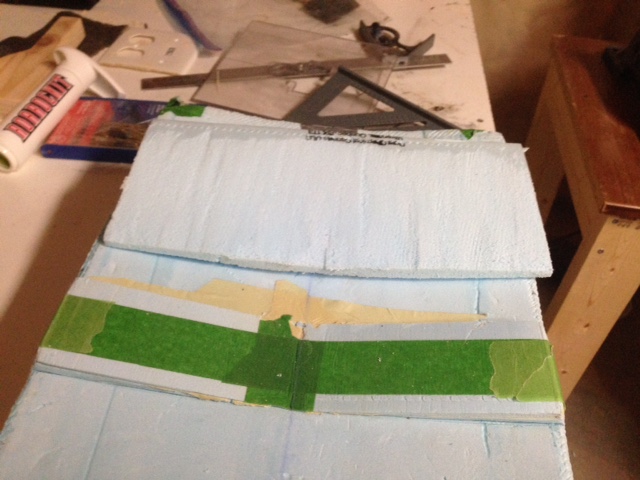
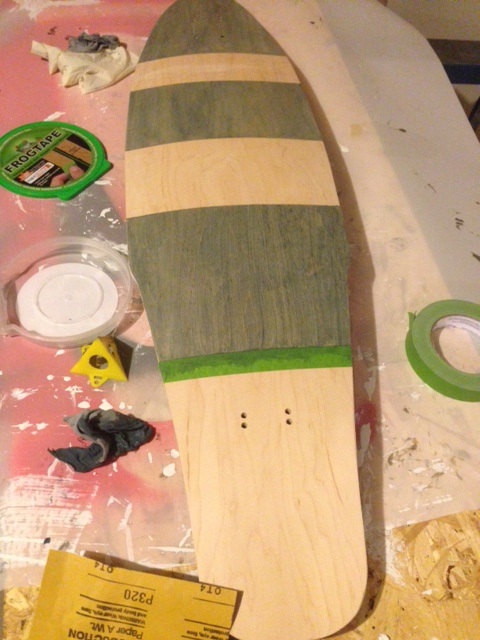
I then sanded and and applied Minwax Charcoal grey stain. I wanted a grey weathered finish but I wasn't happy with the look, it was too purple for my taste. I had applied a wood pre-conditioner prior to staining but the colour was not what I desired.
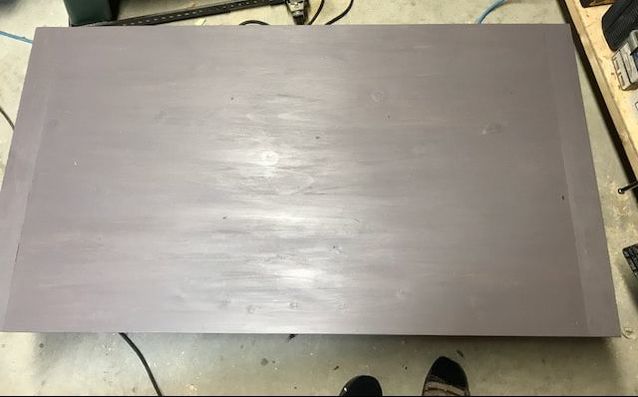
So I decided to modify the finish by doing a white wash with latex paint
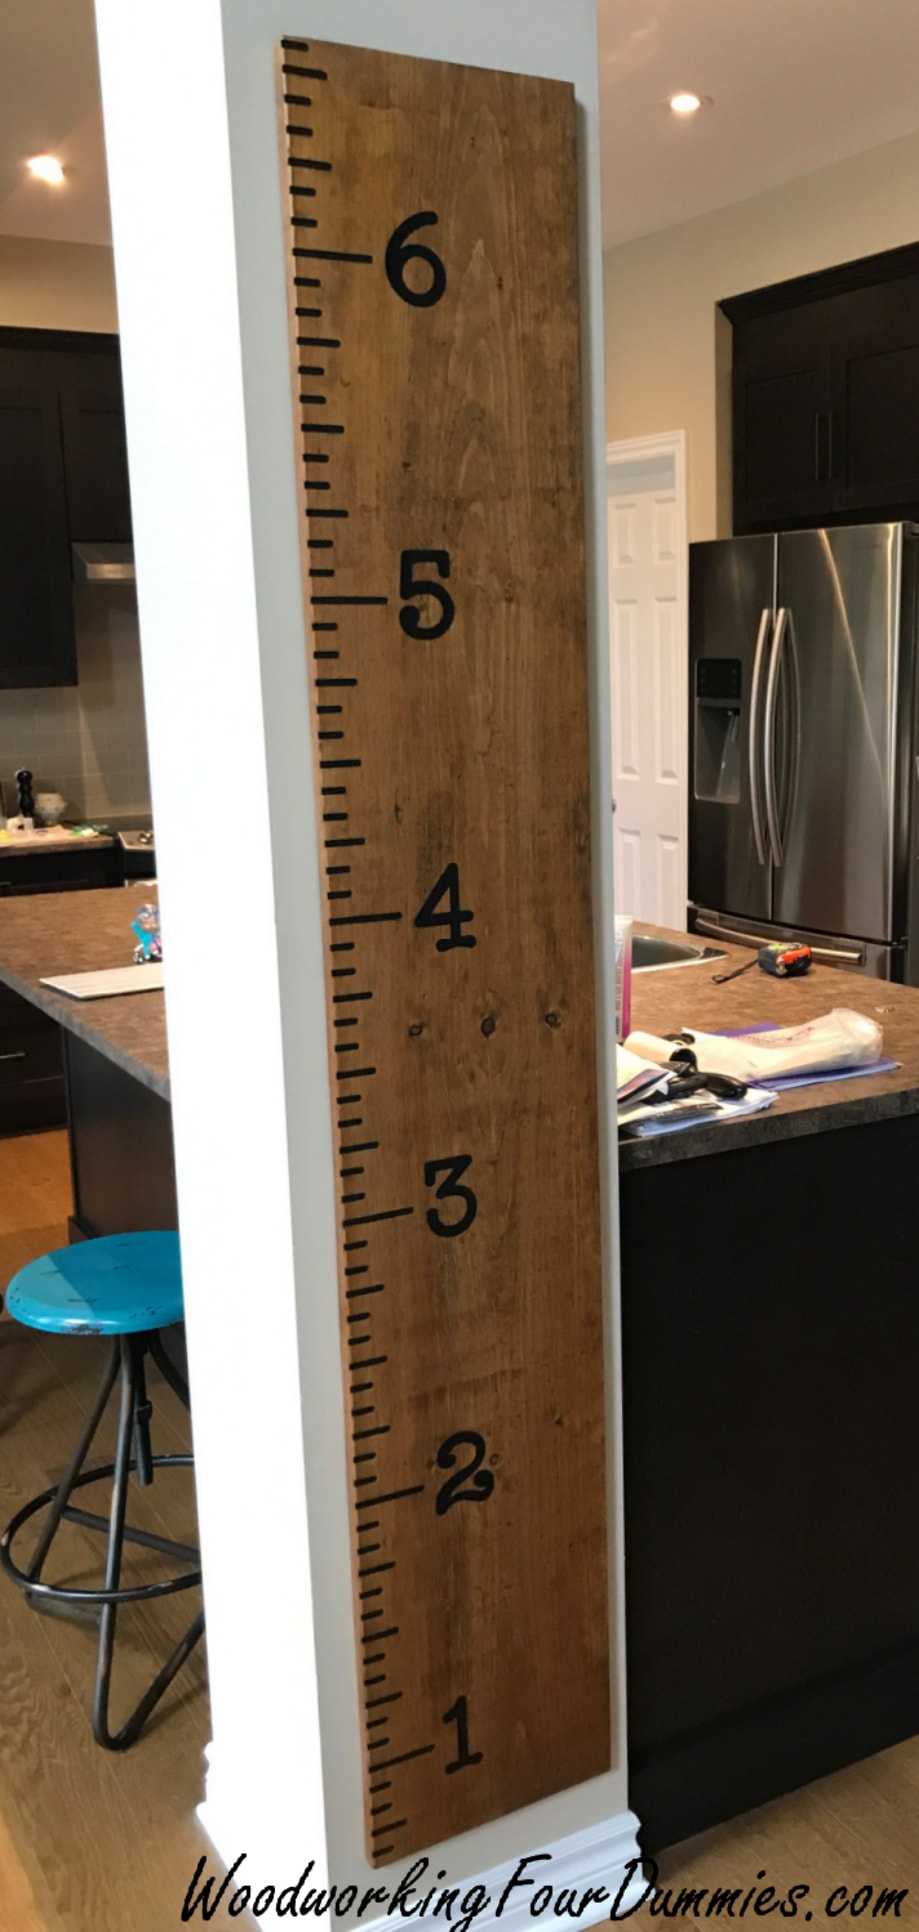
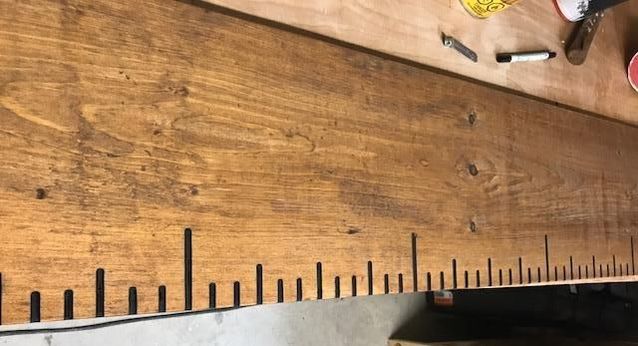
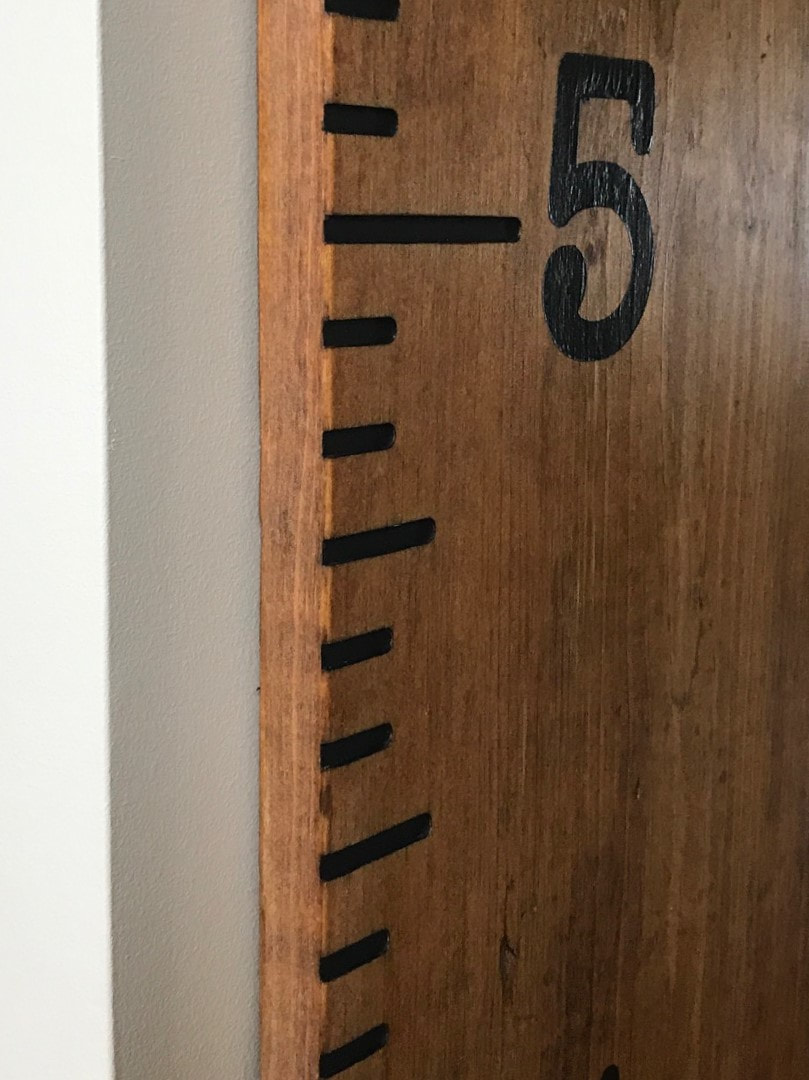
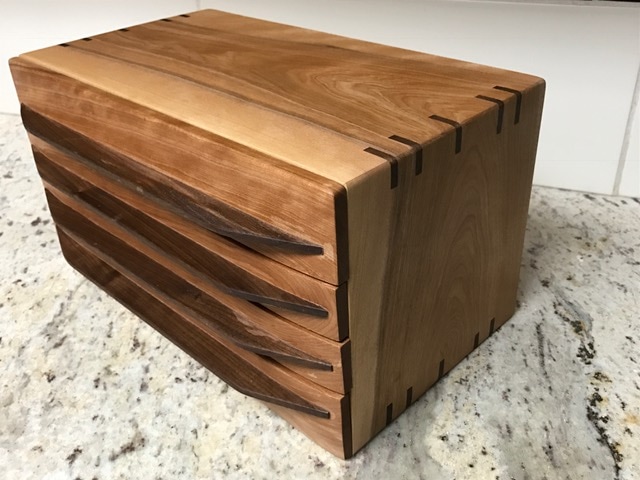
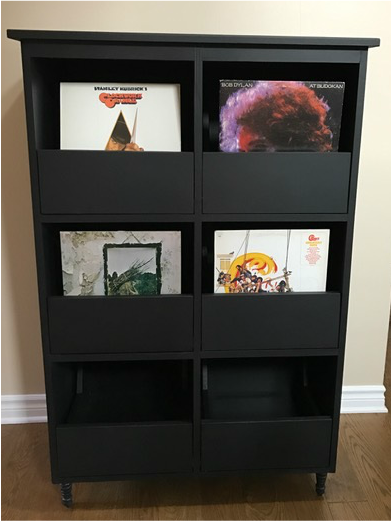
Here's the final product, my wife made the numbers using her cricut and painted it black.
Project Complete!
Note: I noticed one small typo with Ana White's cut list, there should be four legs: 4 - 2x2 @15 1/2" (plans said 2 - 2x2 @15 1/2")
 RSS Feed
