Finish: Custom stain and Polyurethane
Hardware: n/a
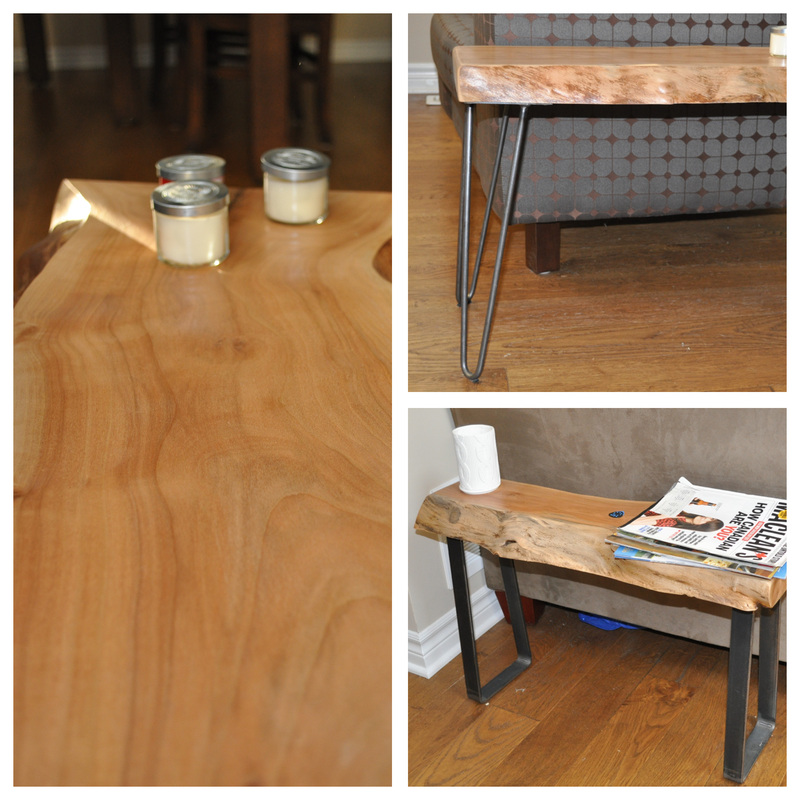
I purchased a harvest table from a local store that sells only solid wood furniture. The store had the option of purchasing a bench. I decided that I could save some cash and make the harvest bench myself. I purchased the chairs - that is above my skill level!
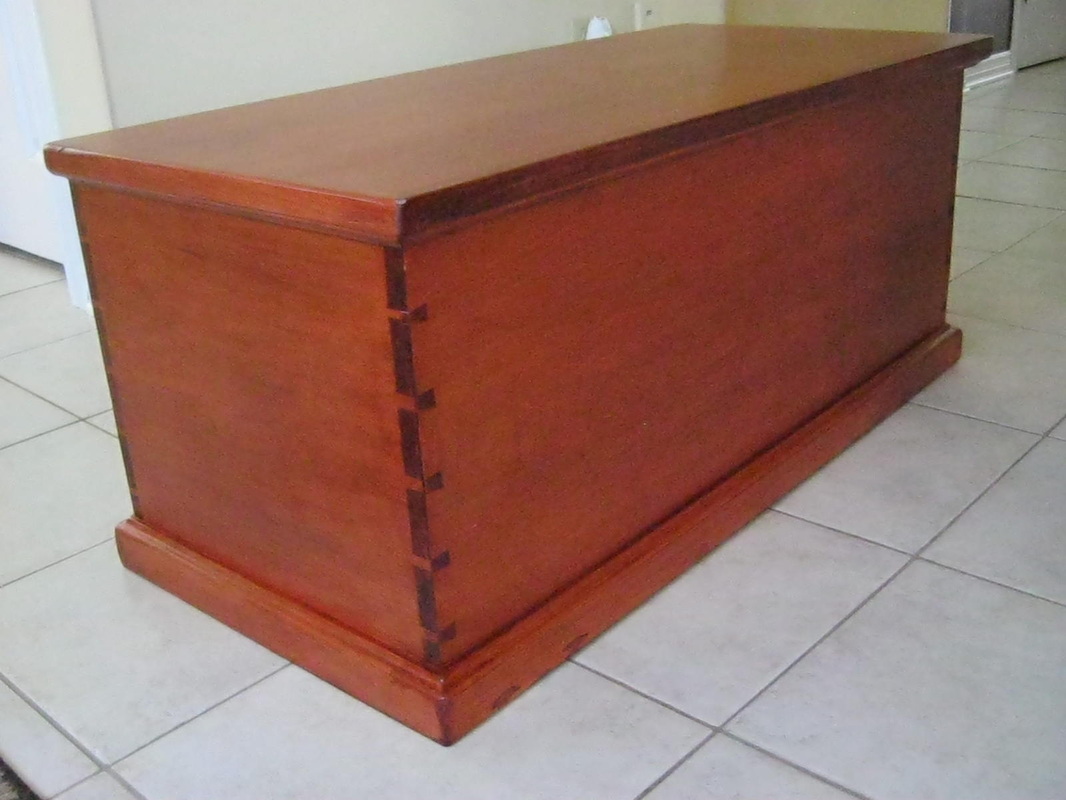
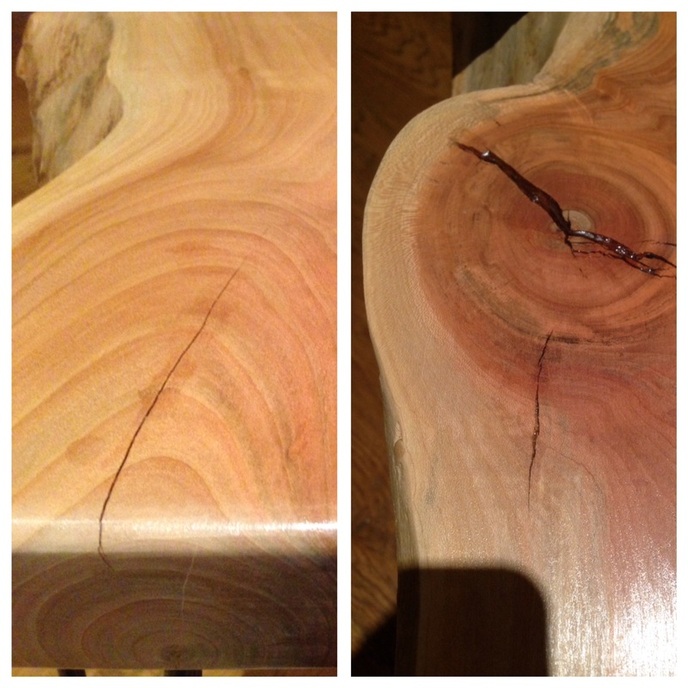
 Wood type: Walnut Finish: Custom stain and Polyurethane Hardware: n/a 
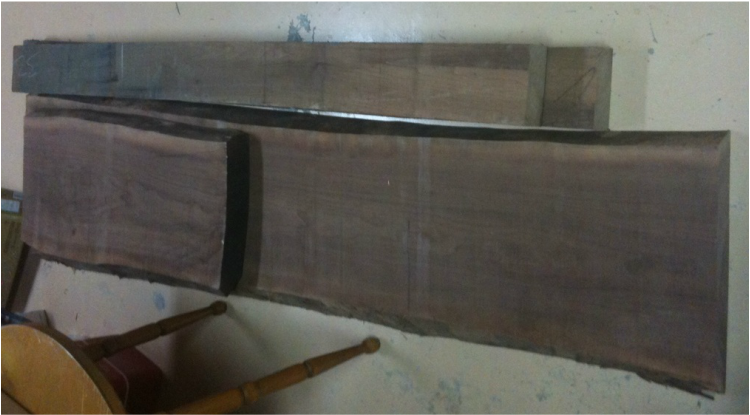
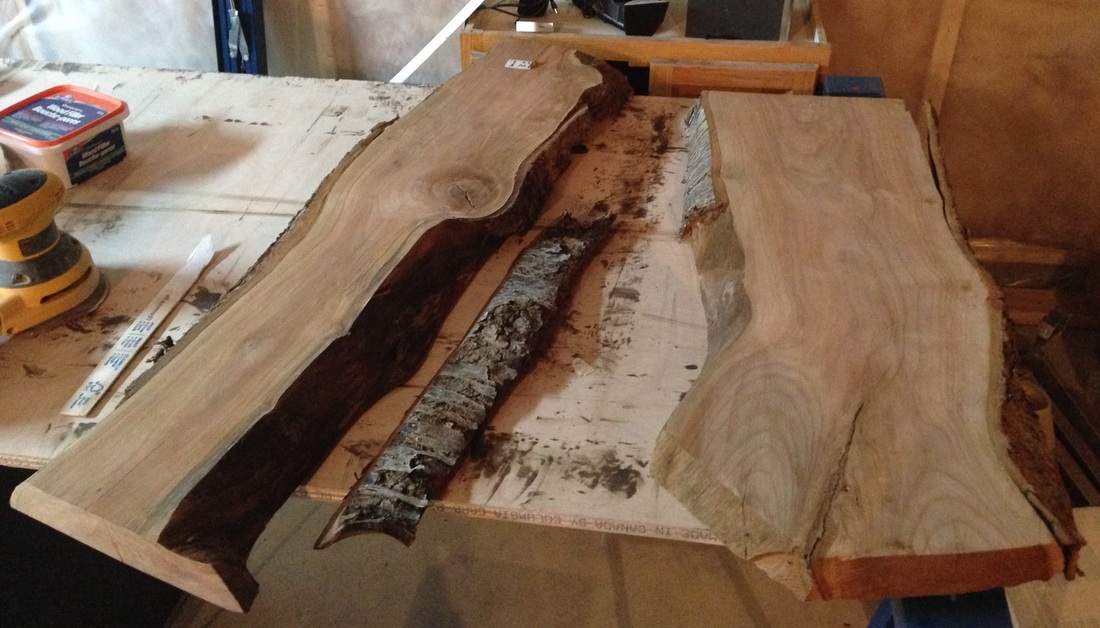
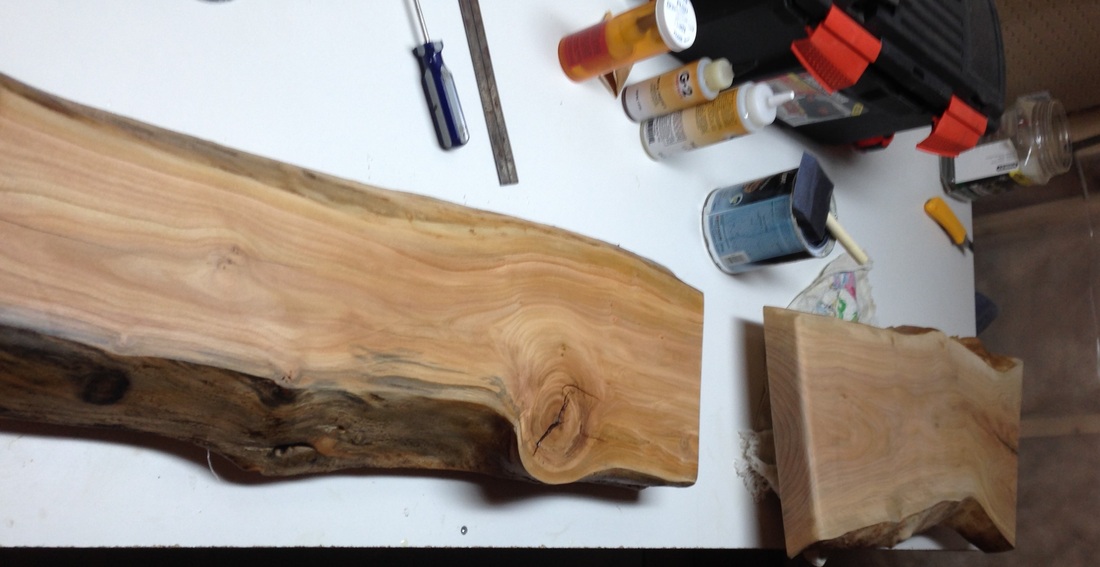
First step, purchase some beautiful walnut. I found some 2" walnut, the top part of the bench would be one solid piece. 
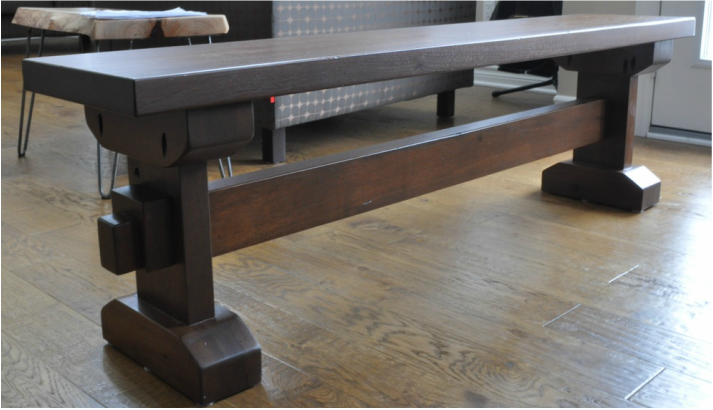
I made this bench year before this blog, so I drew up a plan so you can have an idea of how it was built. My father and I made the bench, it was his design. 
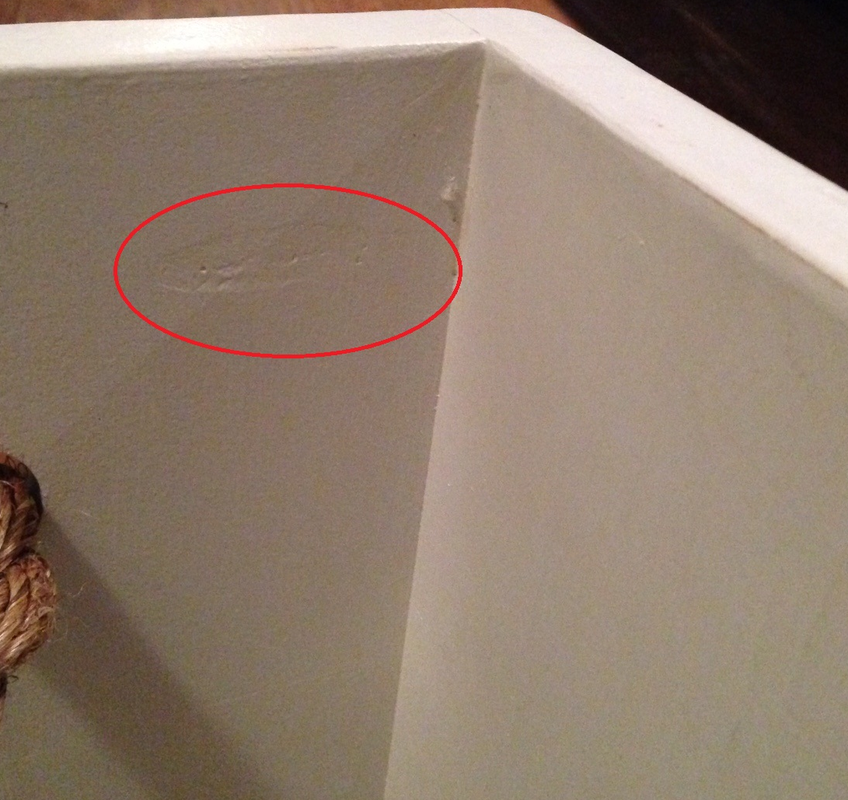
I did some light distressing to match the table. The table I purchased had a stain so I was able to buy a gallon of the custom stain via the company. I then added a couple coats of polyurethane to protect the surface. 
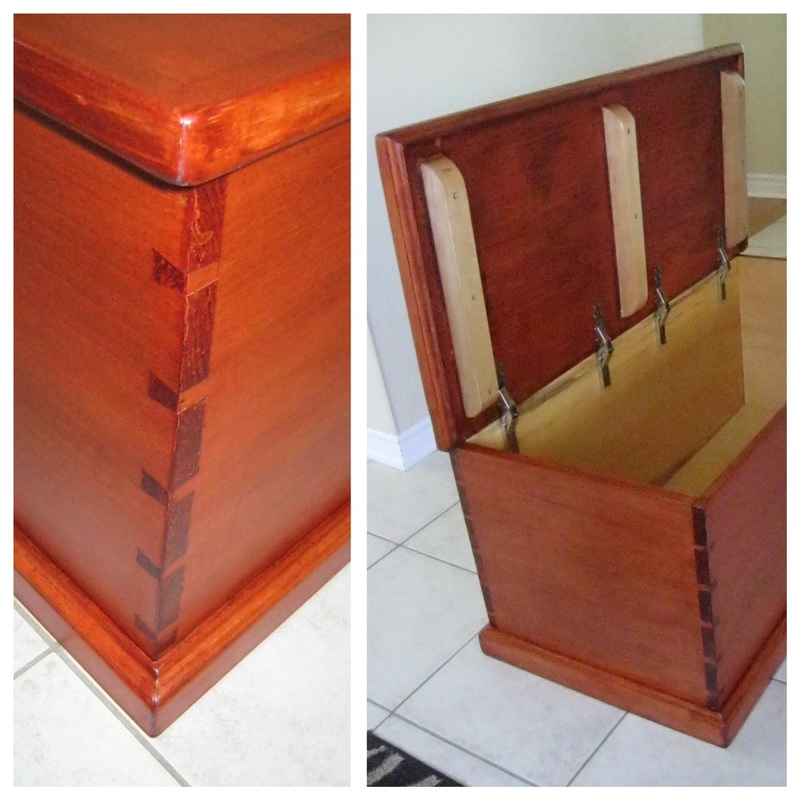
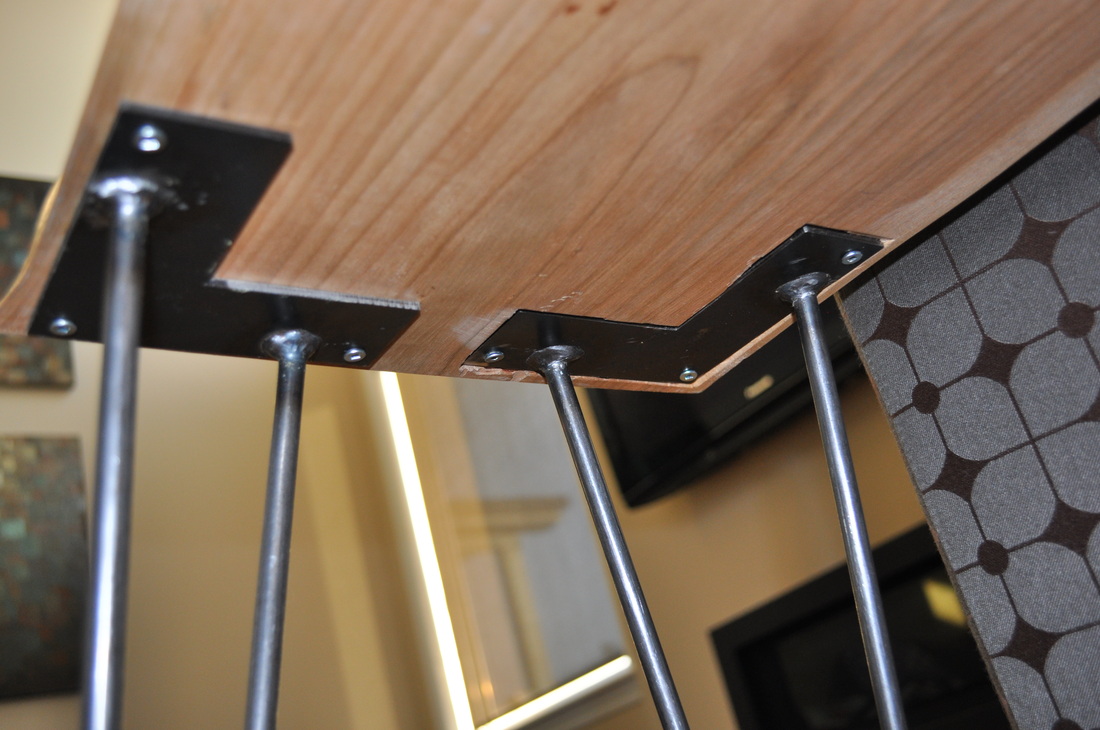
If I were to make a change, I would of hid the pocket screw holes on the legs. I could of just glued the outer finishing piece on the upper leg to hide holes.
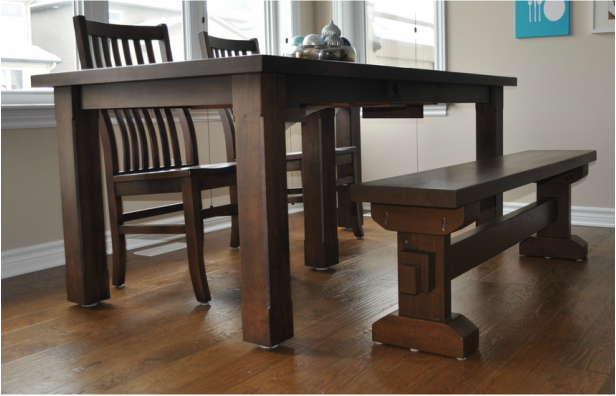
 Project Complete!
0 Comments
Coffee table made with reclaimed barn board and oak. There is also a drawer under table top. Wood type: Brown barn board and oak (legs and trim) Finish: wax Hardware: n/a Inspiration: My brother, dad and grandpa Contributor: Laura J Thanks for the contribution Laura!
This is a 6 piece pine blanket box with hand cut dovetails. Made from 6 single piece boards. Wood type: Pine Finish: wood sealer then water based stain Hardware: Hinges from Lee Valley Inspiration: Traditional Canadian pioneer style Contributor: Pete W Thanks for the contribution Pete!
When I bought this ottoman they were selling an optional tray that was quite expensive. I had some leftover barn board so I decided to make this simple tray Wood type: Grey Barn Board Finish: Polyurethane Hardware: n/a I cut four pieces on the table saw and then joined them together with pocket screws. I made to edges so that the tray would no shift on the ottoman. Once again, I attached those two pieces with my Kreg jig (no I'm not sponsored :). Project Complete!
I was needed a box to hide some junk in my pantry, so I made this inexpensive and simple box. Wood type: Free scrap plywood :) Finish: White semi-gloss paint Hardware: Manila rope This is a quick and simple project. I had some leftover scrap plywood and I made my box. I assembled it using Kreg pocket hole screws. All the pocket holes were drilled on the inside. I did use some dowels to fill the holes (well to be hones just the top holes that were visible). As you can see I wasn't too concerned about the inside. I drilled two holes on opposite sides and ran some manila rope to create some aesthetic handles. I then sanded down some of the corners and made some dings to create a vintage distressed look. Project Complete!
I picked up some fruit wood and decided to make a couple of end tables. The first table I made with hairpin legs. The other piece of fruit wood was quite narrow, so I had some custom steel legs built for the table.
Wood type: plywood and knotty pine (optional)
Finish: White semi-gloss paint with a water based polyurethane Hardware: 1-1/2 Inch Nickel Piano Hinge, hooks (optional) and a lid supports.
I removed the bark from the edges. Then used a steel wire brush to remove the remaining bark from the edges until I got the look I was trying to achieve.
One of my live edge pieces was not square, it was too big to run through my 6" jointer. It was only slightly off, one of the hairpin legs was too long my a few mm. So I was lazy and rectified it by making a mortise for the hairpin bracket with a chisel.
After a few applications of epoxy, then comes the repetitive sanding and then a few coats of polyurethane to protect your hard work.
Once I removed the bark to a desired level (personal preference), I started to fill the large cracks with "G2" epoxy glue. For the very fine hairline cracks, I used "Hot Stuff" CA glue which is renowned for their incredibly fast curing time and high strength bond.
Project Complete!
Contributor: D Ostrander
Wood Type: Maple and American Walt I received my first contribution from Dick Ostrander in Massachusetts. Dick was inspired by a YouTube video that illustrated this optical illusion pattern. The video was for a bread board but he decided to create the “illusion box”. He built the box out of curiosity and sold them. Thanks for sharing! |
|