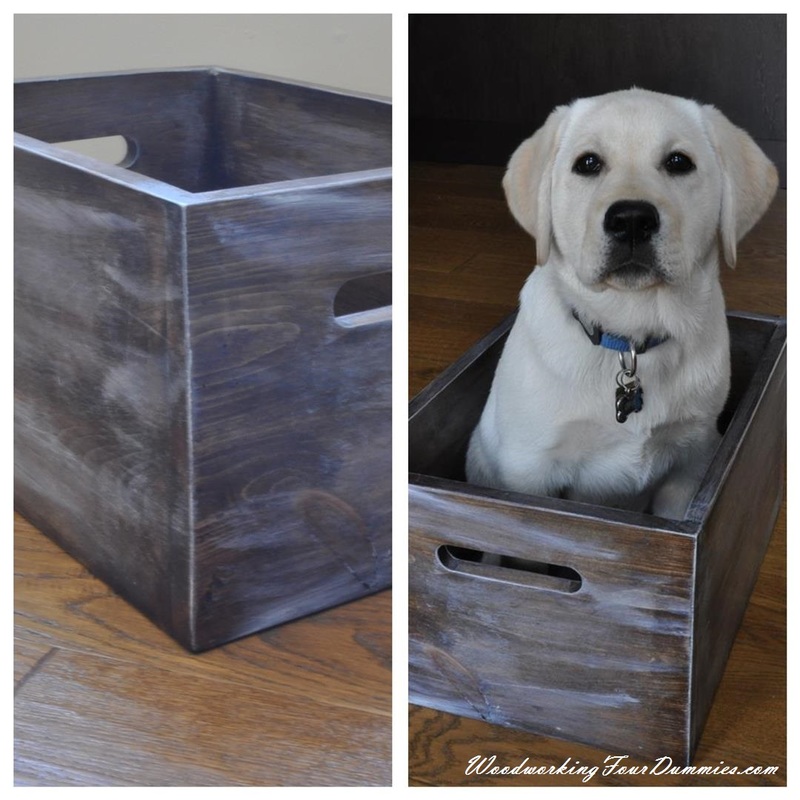

We recently got a new puppy and the toys were all over the house. I decided to make a simple yet practical box for his toys....I'm sure the box will be chewed up soon :)
Wood type: Pine
Finish: Water based polyurethane, Minwax walnut stain, white acrylic paint.
Hardware: n/a
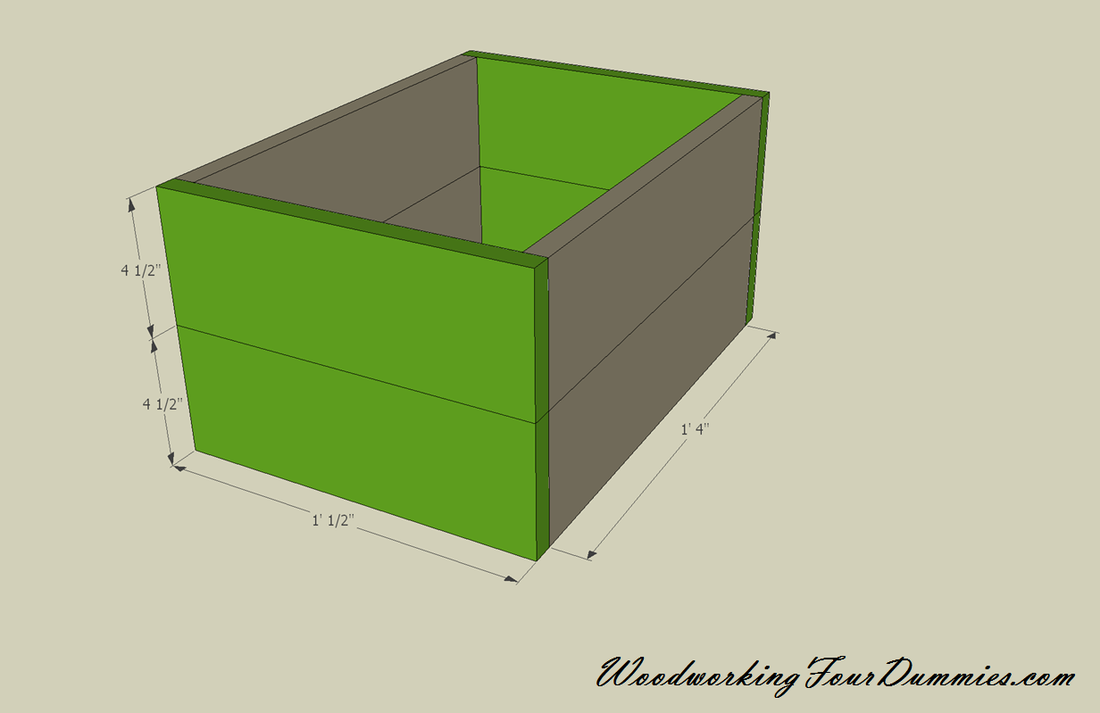
Cut List: Only one 1" x 6" x 8' board was needed for this box.
Finish: Water based polyurethane, Minwax walnut stain, white acrylic paint.
Hardware: n/a
Cut List: Only one 1" x 6" x 8' board was needed for this box.
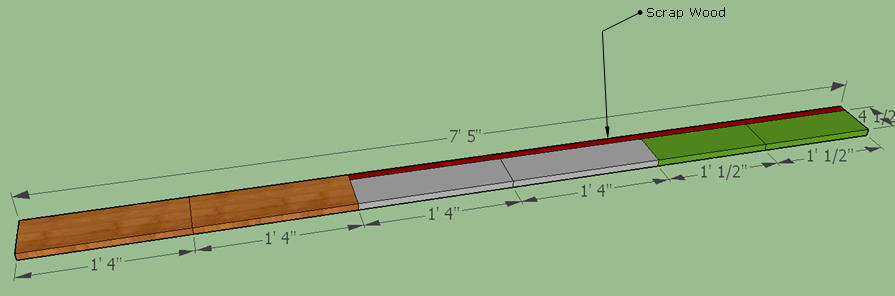
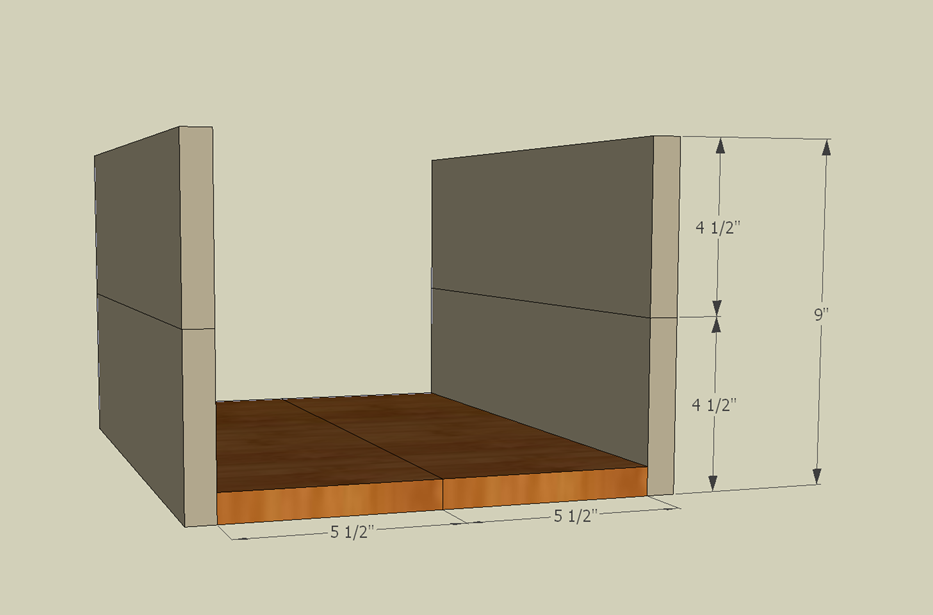
Brown = Bottom pieces Grey = Side pieces Green = End Pieces
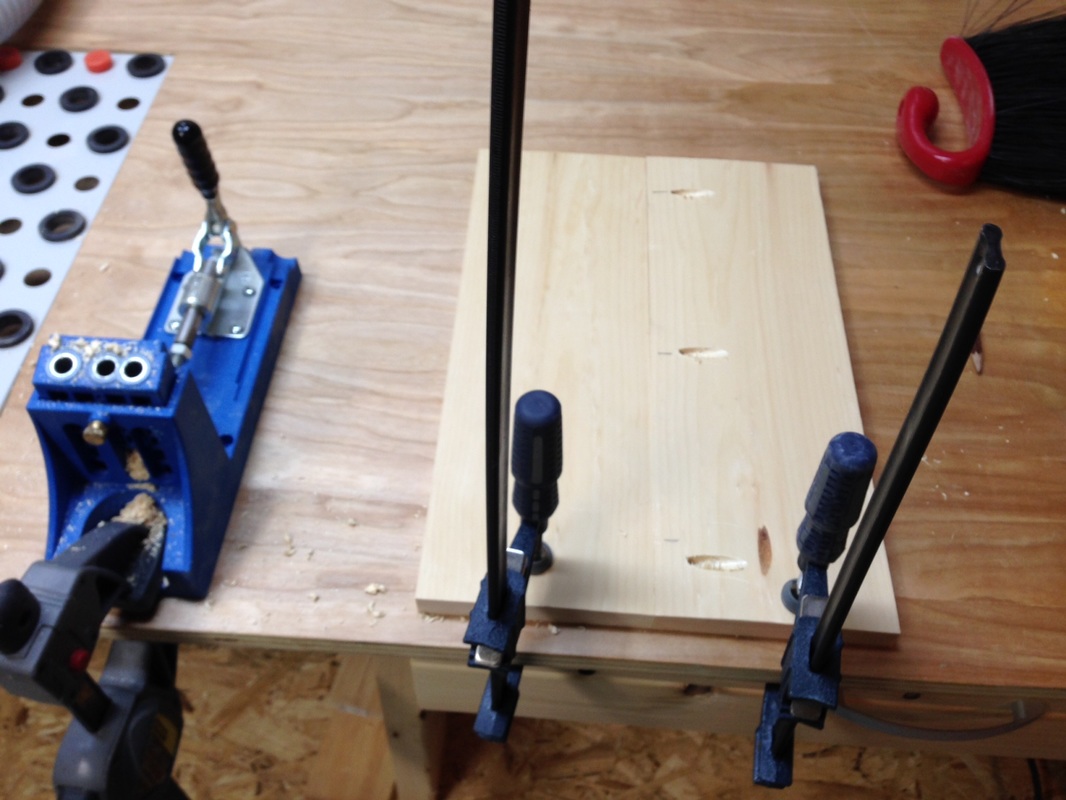
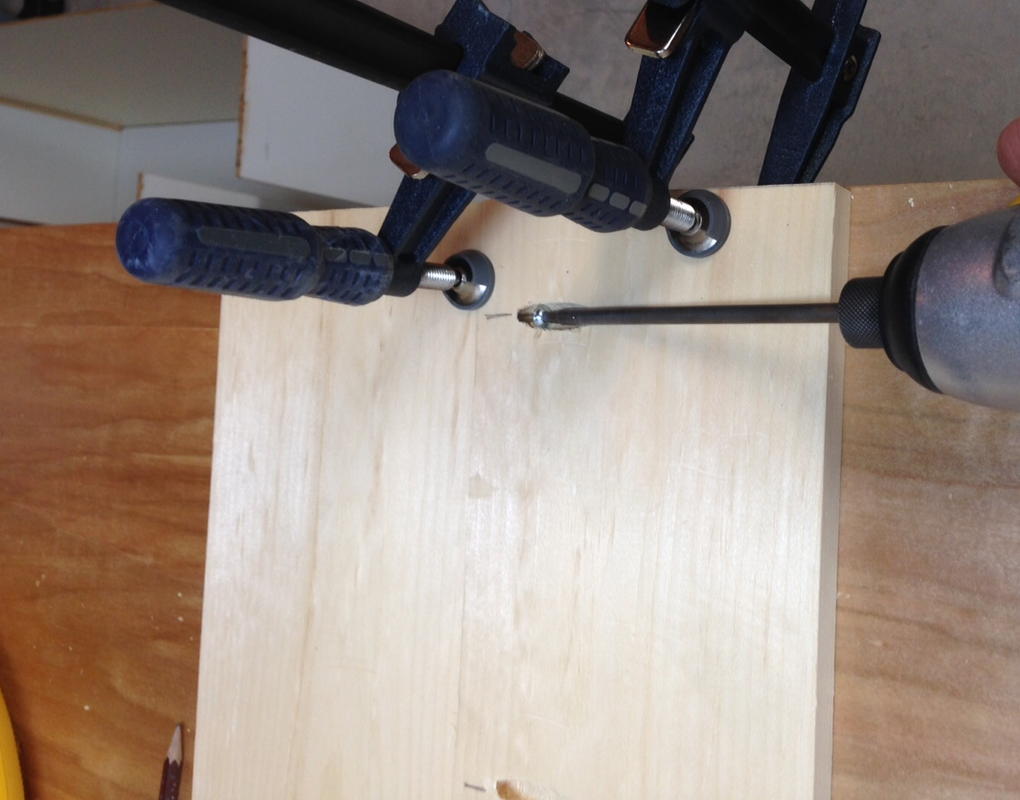
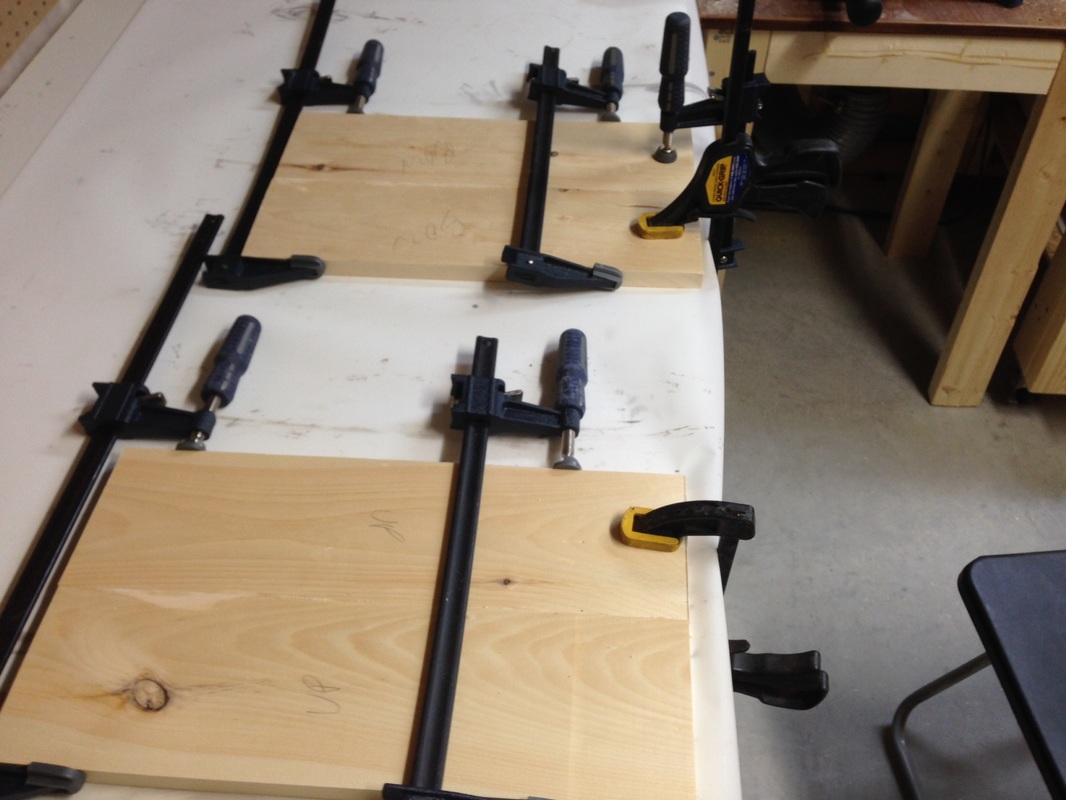
I started with the bottom of the box first. Since nobody would see the bottom of the box, I decided to use pocket hole screws to join the two boards to add some strength. All the other side pieces were just glued together.
|
|
The next step was to stain all the sides of the box. I used my favourite dark walnut stain.
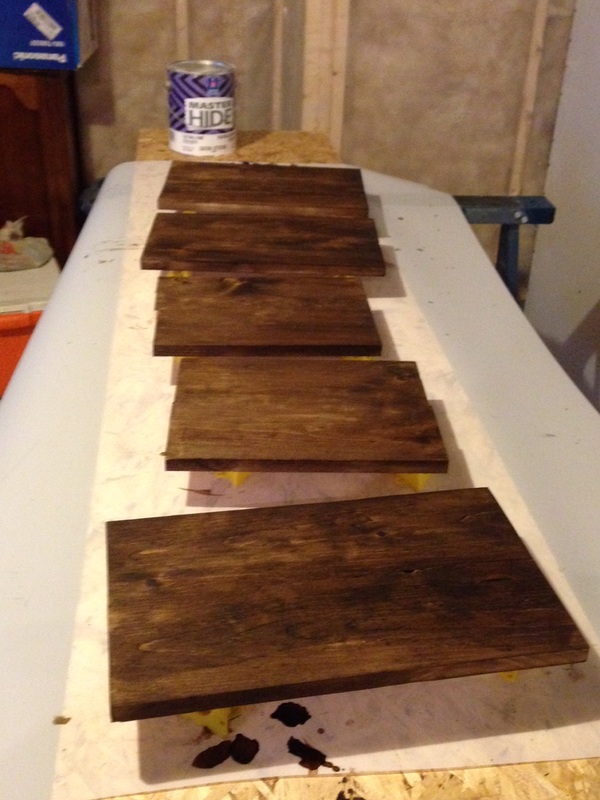
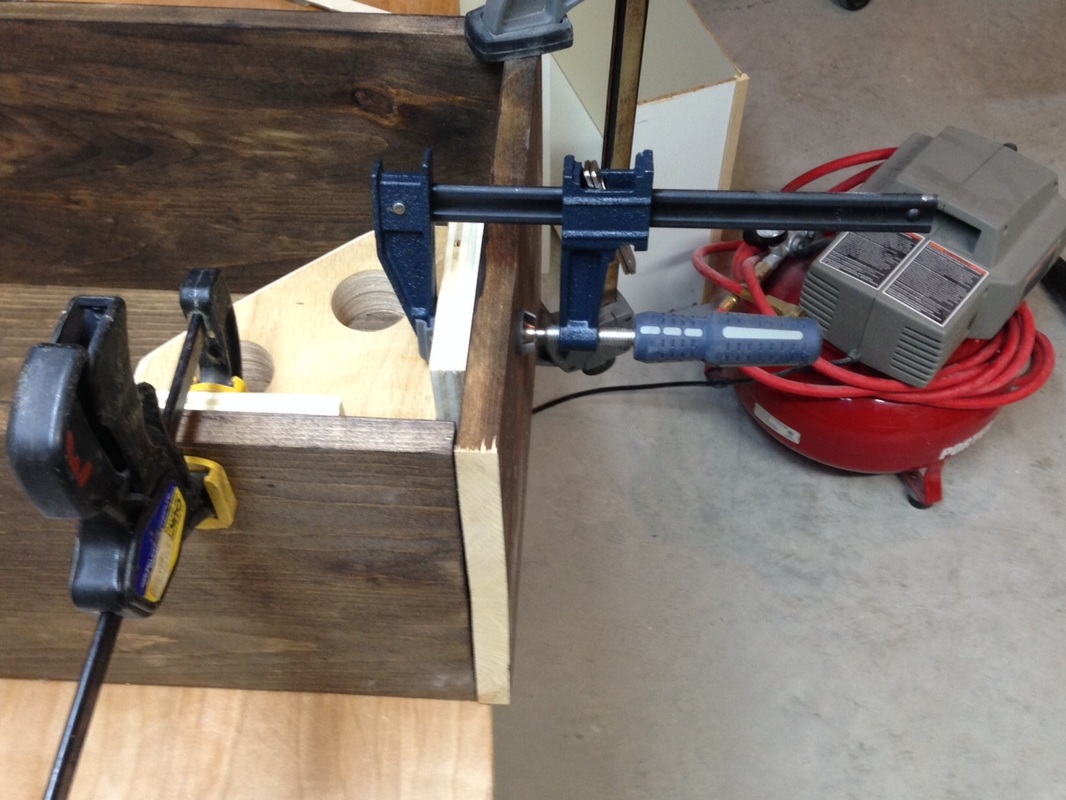
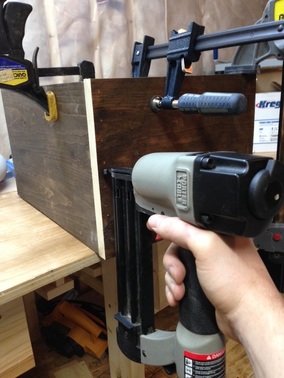
Once stained, I started to assemble the box.
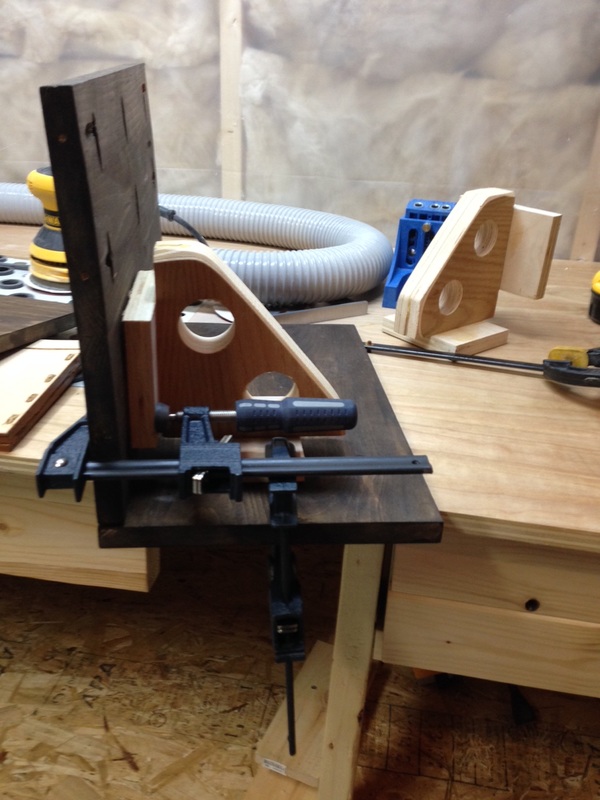
I then assembled the pieces together by using a brad nailer. You could use regular nails or screws as an alternative. I also used my squaring block jig to assist in making the box square.
|
|
I decided to add handles to the rectangular box. I drilled to holes and then used a jig saw to complete the oval handles below.
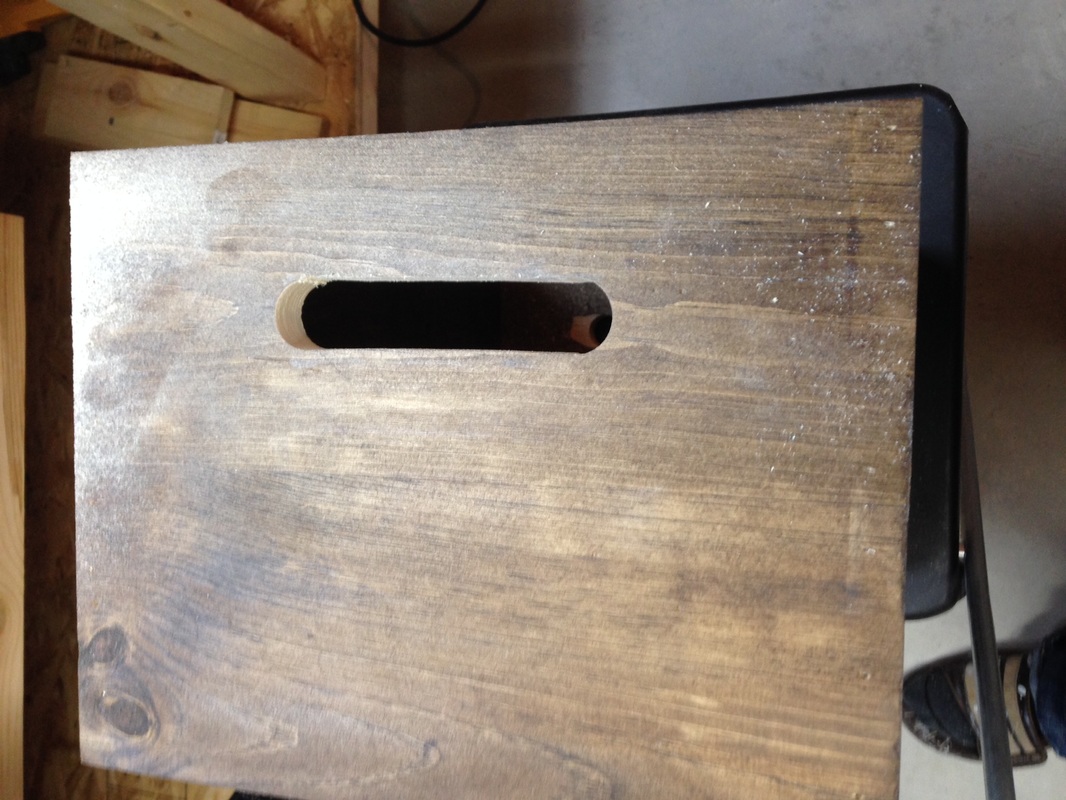
To drill the initial two holes I used a 3/4" forstner bit, this is not necessary but they make a nice clean cut. I also have a tip to avoid tear out when drilling holes.
The last step was to create the whitewash effect with some white acrylic paint. This was my first attempt at doing white wash, I thought it turned out alright. If I were to do it again, I'd used more white paint but I do like the look I achieved. I then applied polyurethane to protect the finish.
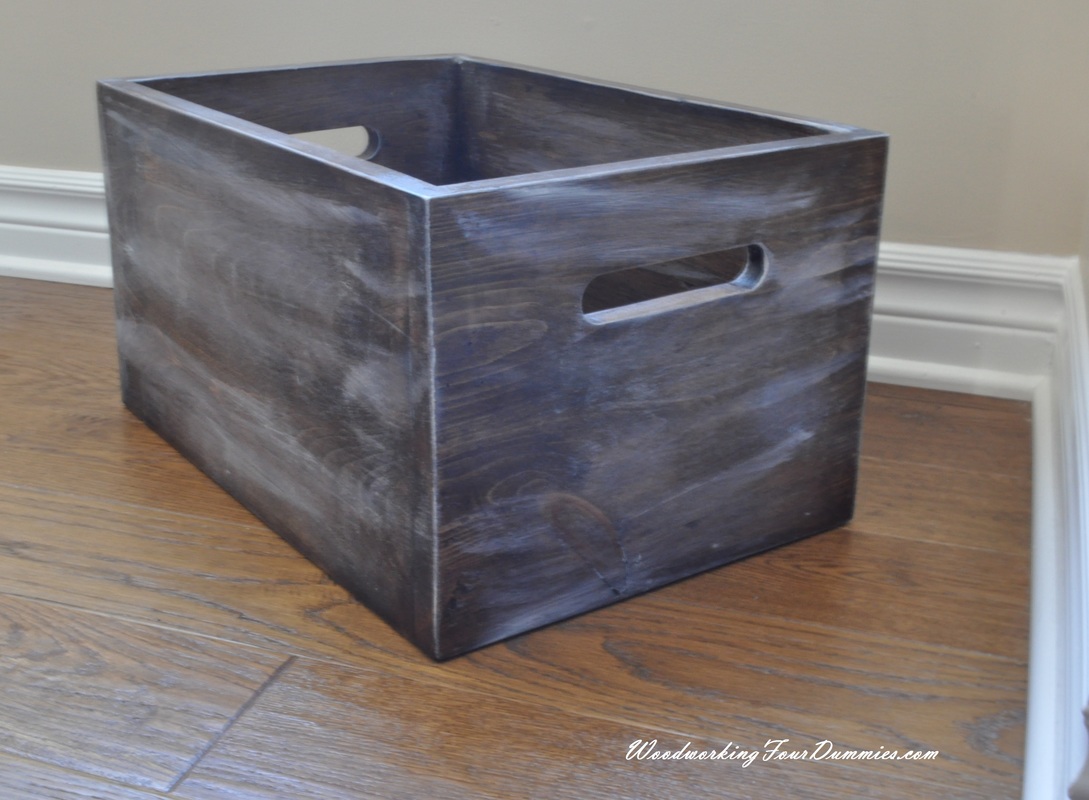
Project Complete!
 RSS Feed
