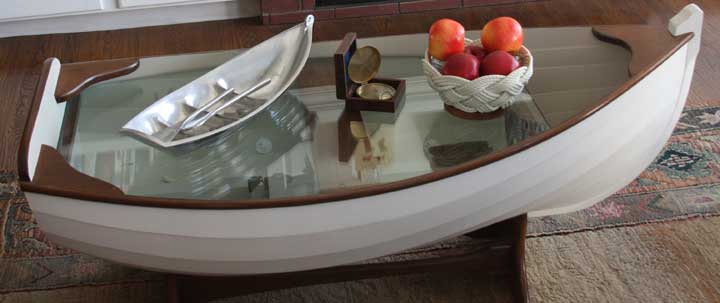
This a scaled down plan of an actual sailing dory. I purchases the plans from "DuckTrap" Press in Lincolnville Breach Maine.
Wood type: 5/16" marine plywood
Finish: paint
Hardware: n/a
Inspiration: reading to many woodworking books
Contributor: Dick Ostrander
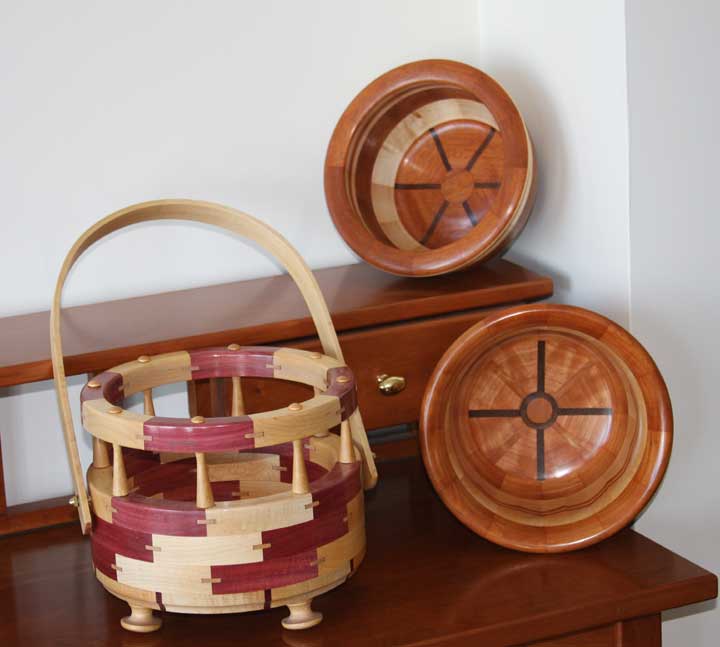
Wood type: 5/16" marine plywood
Finish: paint
Hardware: n/a
Inspiration: reading to many woodworking books
Contributor: Dick Ostrander
Thanks for the contribution.


 RSS Feed
